How to Install Wall Panels Easily – Step-by-Step DIY Guide
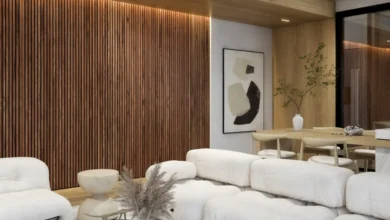
There’s something timeless about clean, classic wall paneling. Whether you want to add elegance to a hallway, warmth to a bedroom, or a refined focal point to your living room, installing wood wall panels is one of the most effective ways to transform a space without a full renovation.
If you’ve been wondering how to Install Wall Panels without hiring contractors or dealing with a construction mess, you’re in the right place. Modern panel products — from solid wood slatted panels to peel-and-stick boards — make it possible for beginners to achieve high-impact, professional-looking results.
At Woody Walls, we believe beautiful walls should be accessible, sustainable, and easy to install. Our solid slat panels and peel-and-stick wood boards are designed for fast DIY installs and long-lasting results. Ready to dress your walls? This guide walks you through everything you need to know — step by step.
What is Wainscot (Wainscoting)?
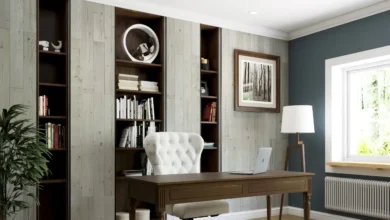
Wainscoting is a decorative and functional wall treatment that usually covers the lower portion of a wall. Historically used to protect plaster from scuffs and moisture, wainscoting today blends classic charm with modern style and can be adapted to many interior looks.
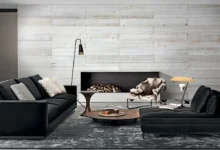
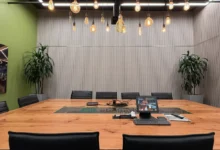
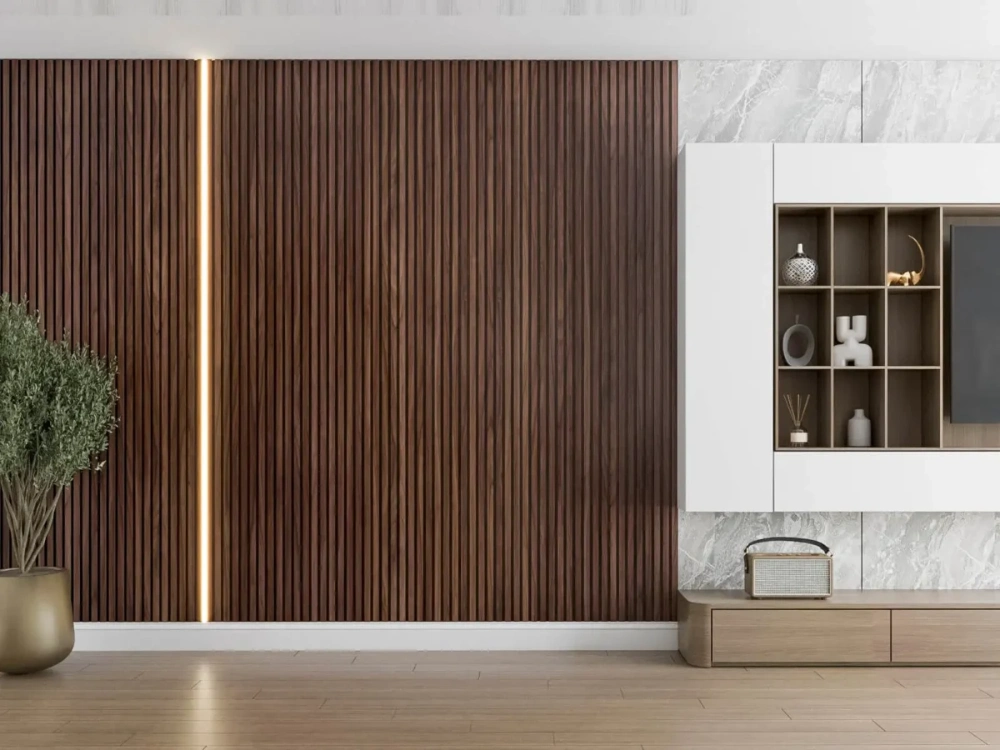
Wall panels add visual depth and can make rooms feel taller by drawing the eye upward. You can install short wainscot (about 36″ high) for a traditional look, or full-height panels for a bold, contemporary statement.
Modern panel systems — such as solid wood slats or peel-and-stick boards — make it easy to get a polished, professional look even if you’re new to DIY.
With the right panels chosen, you’re ready to gather tools and materials and begin your paneling project with confidence.
Choose the Right Wood Panels for Your Project
The panels you select determine both the look and the installation method. Consider these factors when choosing panels:
- Panel height: Lower heights (wainscot) create a classic, balanced look. Full-height panels make a dramatic modern statement.
- Room style: Match panel style to your room—traditional, rustic, or contemporary.
- Color & finish: Pick tones that complement your palette. Warm browns pair well with neutral décor; painted panels suit modern schemes.
- Installation method: Peel-and-stick for tool-free installs; tongue-and-groove or adhesive + nails for permanent installs.

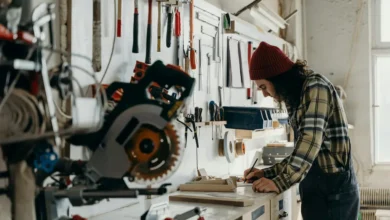
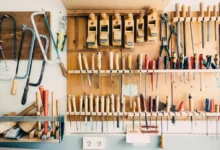
Tools & Materials You’ll Need
Gather these essentials before you start to keep the job efficient and tidy.
Essential tools
- Tape measure
- Pencil
- Level
- Stud finder
- Miter saw or hand saw (for cutting panels)
- Finish nailer or hammer with finishing nails
- Construction adhesive (if using glue-up panels)
- Caulk and caulking gun
- Sanding block (for small touch-ups)
- Paintbrush/roller or stain applicator (optional)
Materials
- Chosen wood wall panels (slat panels, tongue-and-groove, or peel-and-stick boards)
- Top molding or trim (optional for a finished edge)
- Painters’ tape
- Wood filler
If you’re using peel-and-stick boards, you’ll skip adhesives and many fasteners — making install faster and cleaner.
Step-by-Step Guide: How to Install Wall Paneling
Follow these steps for a neat, professional-looking installation.
1. Plan your layout
- Measure the wall height and decide your panel height (wainscot or full height).
- Mark the top edge of the panels with a level and pencil.
- Locate studs with a stud finder and mark them — you’ll want to secure panels to studs when possible.
2. Prepare the walls
- Clean the wall surface to remove dust and debris.
- Slightly sand glossy surfaces for better adhesion if using adhesive-backed panels.
- Fill holes and cracks so panels sit flush.
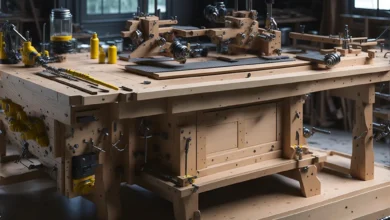
3. Measure & cut panels
- Measure and cut panels to fit around outlets, windows, and corners.
- Use a miter saw or hand saw for clean cuts; dry-fit panels along the wall before final fastening.
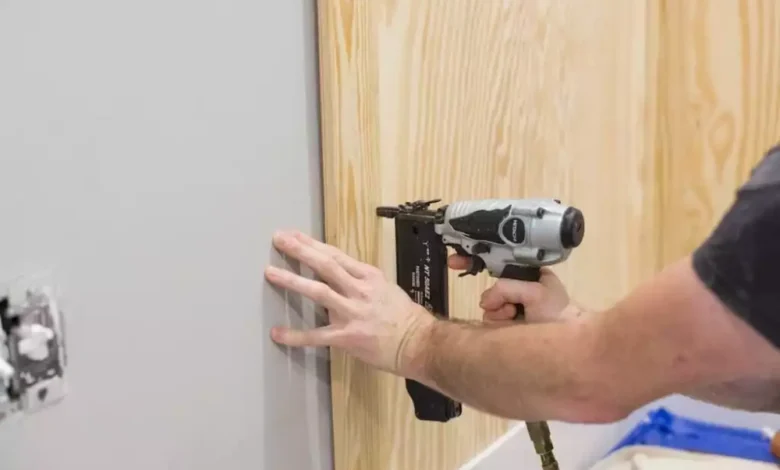
4. Install the panels
For peel-and-stick panels:
- Peel the backing off and press the panel firmly from one corner outward.
- Use a level frequently to maintain straight alignment.
- Apply consistent pressure across the panel so it adheres fully.
For traditional glue-and-nail panels:
- Apply construction adhesive to the panel back in a zig-zag pattern.
- Position the panel and press it into place.
- Secure the panel with finishing nails into studs or framing.
- Check alignment as you go to maintain level lines.

5. Add trim & finish
- Install top trim or molding for a finished edge if desired.
- Fill nail holes with wood filler and sand smooth once dry.
- Caulk seams where panels meet for a seamless look.
6. Paint or stain (optional)
- Paint or stain panels to match your design. Use painter’s tape to protect adjacent areas.
- Allow finishes to dry completely before reinstalling outlet covers or moving furniture back in.
Once complete, your new paneling will add architectural interest, warmth, and value to your home.
Installing Paneling in Bathrooms & Care Tips
Paneling can work well in bathrooms — with the right product choices and ventilation.
Bathroom installation tips
- Ventilation: Ensure good airflow (exhaust fan) to prevent trapped moisture behind panels.
- Choose moisture-resistant panels: Use panels and backings rated for interior humidity.
- Seal edges and seams: Use waterproof caulk around wet areas and at the base of panels.
- Avoid direct water contact: Do not install standard wood panels inside a shower enclosure unless rated for wet use.
Care & maintenance
- Wipe panels with a soft, damp cloth to remove dust and splashes.
- Use gentle cleaning products — avoid harsh chemicals that can damage finishes.
- Periodically inspect caulk and re-seal if needed to maintain moisture protection.
Frequently Asked Questions
What is the difference between wainscoting and paneling?
Wainscoting typically refers to panels installed on the lower portion of a wall (often ~36″ tall). Paneling can cover the entire wall or be used as accents; the terms overlap and are often used interchangeably.
Can I install wall panels myself?
Yes. Many modern panels (especially peel-and-stick options) are designed for DIY installation. With basic tools and careful measuring, most homeowners can complete a wall in a weekend.
Do peel-and-stick panels hold up long-term?
Quality peel-and-stick panels installed on a clean, dry surface perform well for many years. For higher-moisture areas or heavy-duty use, consider glued or mechanically fastened systems.
How do I handle outlets and switches?
Turn power off, remove the cover plate, cut the panel to fit around the box, reinstall the cover plate, and use minimal gaps sealed with caulk for a neat finish.
Will paneling reduce my room size visually?
Paneling typically adds depth and character and often makes rooms feel more finished — full-height vertical paneling can actually make a room feel taller.
Recommended Resources
- Moumentec — Shop wall panels & sample requests
- Houzz — Wainscoting & paneling inspiration
- Home Depot — Trims, moldings & installation supplies
- Family Handyman — Wainscoting installation tips