Finishing Methods Furniture: A Simple 7-Step DIY Guide
Ever wondered why your DIY furniture projects don’t look as good as store-bought ones? The secret is in the right furniture finishing techniques. This guide breaks it down into seven easy steps. It turns even simple finishing wood furniture into a fun project.
Whether you’re fixing up an old table or making a new one, the right wood finishing methods furniture make it last longer. They also make it look better.
Why choose boring finishes when you can pick from water-based, polyurethane, or lacquer? Learn how to pick the best one for your project. Find out how to avoid mistakes like uneven drying or peeling. Every step, from stripping old finishes to applying new ones, is here to help you succeed.
Key Takeaways
- A 7-step process covers prep, staining, and protective coatings for professional results.
- Hybrid varnishes cut drying time by 87.5% compared to older oil-based options.
- 90% of pros use tack cloths to ensure clean surfaces before finishing.
- Water-based finishes reduce VOCs by up to 50%, aligning with eco-conscious trends.
- 60% of DIYers use Home Depot’s app to source compatible products like 7/0 grit sandpaper.
Understanding the Basics of Furniture Finishing
Finishing wood makes it strong and pretty. It keeps wood dry and looks good. A good finish can make wood last much longer.


“Wood finishing is an art, and these seven techniques are the brushes and paints of a woodworker.”
Why Proper Finishing Is Essential
Finishes protect and make wood look better. Oils like linseed go deep into the wood. Surface finishes like polyurethane make a hard layer.
Without the right finish, wood can warp or stain. Tables need strong finishes like polyurethane. Decorative pieces might use shellac for a shiny look.
Overview of the 7-Step Process
- Preparation: Clean and strip existing finishes
- Sanding: Smooth surfaces using grits 80-220
- Staining: Apply color with dyes or stains
- Base coat: Seal with shellac or thinned varnish
- Main finish: Apply chosen method (poly, wax, lacquer)
- Topcoat: Add final protective layer
- Maintenance: Regular polishing with paste wax
Common Terminology in Furniture Finishing
Important terms help understand products and instructions. Open-grain woods like oak need more sanding. Closed-grain woods like maple need less.
Cure time is how long it takes for finishes to harden. It can be hours (shellac) or days (oil). Flattening agents make finishes less shiny. Build means how thick the finish is. Wiping varnish (thinned polyurethane) is good for DIY projects.
| Finish Type | Protection | Application | Best Use |
|---|---|---|---|
| Polyurethane | High | Brushed | Tables, floors |
| Shellac | Medium | Brushed | Decorative accents |
| Oil (Tung/Linseed) | Low | Wiped | Countertops, bowls |
| Wax | Minimal | Buffed | Maintenance layer |
| Lacquer | High | Sprayed | Commercial use |
| Varnish | High | Brushed | Outdoor furniture |
| Water-based | Medium | Brushed | Indoor projects |
Choosing the right method depends on the project. Oil-based stains dry slower but give deeper color. Always test on scrap wood before applying.
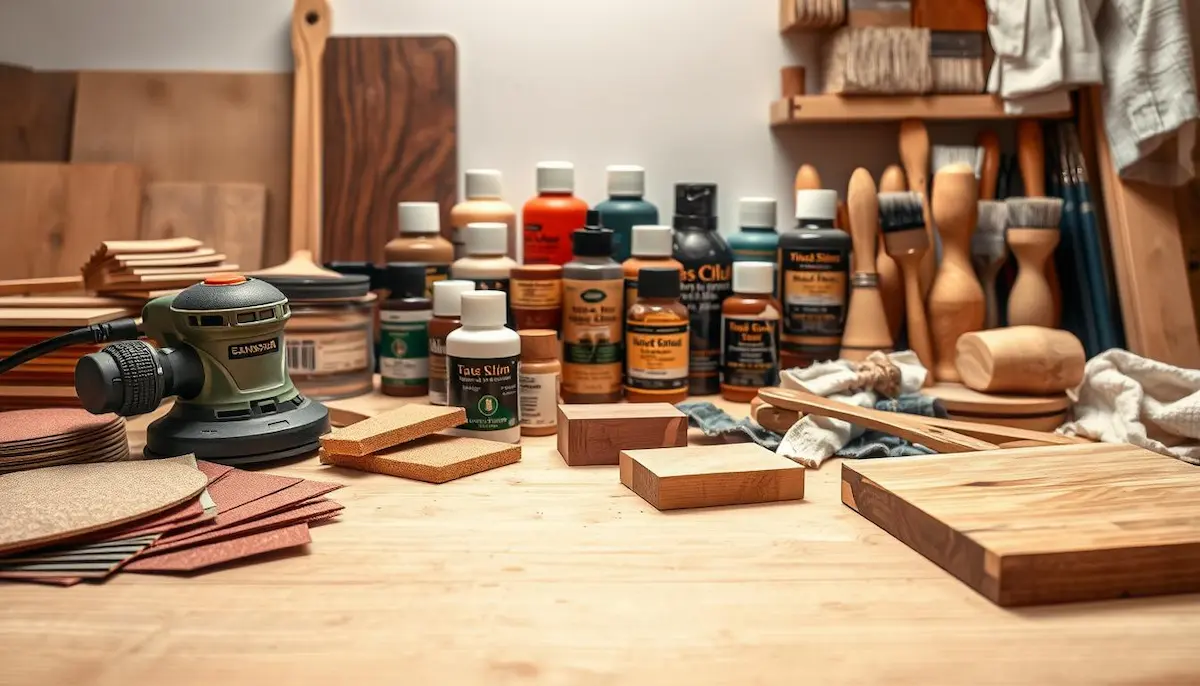
Essential Tools and Materials for Furniture Finishing
First, put on protective gear. This includes gloves, masks, and eye protection. Always wear them.
For sanding, use 80-, 150-, and 220-grit papers. Start with 80-grit for rough surfaces. Then move to finer grits for smoothness.
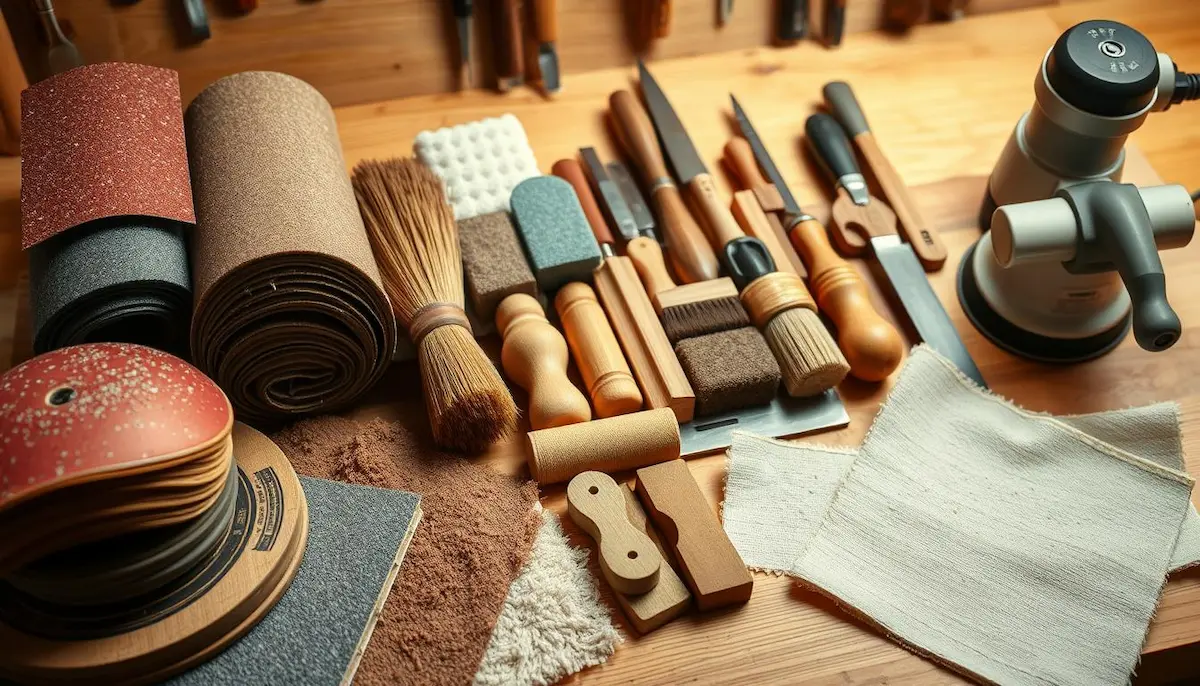
Choosing the right tools is key. Use Purdy Clearcut brushes for precision and foam brushes for even coverage. Rollers and spray equipment are best for big surfaces.
Quality brushes are a must. Avoid brush marks by using top-notch brushes like Purdy’s.
Finishing materials depend on your project. There are 3 types of wood finishes. These include penetrating oils, film-forming finishes, and wax.
The best finish for wood furniture varies. For example, water-based polycrylic is durable. Wax gives a soft sheen.
Get our wood finishing techniques pdf checklist. It lists materials and steps. It includes stain favorites and topcoat options.
Always use cardboard under work areas. This trick prevents messes. 100% of pros agree.
| Finish Type | Example Products | Best Uses |
|---|---|---|
| Penetrating Oils | Danish Oil, Tung Oil | Open-grain woods (oak, walnut) |
| Film-Forming | Polyurethane, Lacquer | High-traffic furniture |
| Wax | Howard Feed-N-Wax | Light protection for rustic pieces |
Invest in quality hand tools. The Lie-Nielsen No. 4 smoothing plane is a must. Dovetail saws and chisels are also essential.
Even basic sets, like the Irwin Blue Chip chisel set, are valuable. Always keep blades sharp. Dull tools waste time and effort.
Preparing Your Furniture for Finishing
Getting your furniture ready right is key for a lasting finish. First, check if the current finish is peeling or damaged. If so, you might need to strip it off. For stripping, citrus-based options are safer, while methylene chloride works on tough varnishes. Always wear gloves and work in a well-ventilated area.
“Before you start the painting process, you need to clean the furniture really well.” – Professional Tip
Stripping Old Finishes Effectively
For water stains, mix oxalic acid with 1 oz powder per cup of warm water. Let it sit for up to 60 minutes on hardwoods. For faster action, use two-part commercial bleaches but wear protective gear. Always rinse well and let dry for 48 hours after bleaching.
Sanding Techniques for Different Wood Types
Choose the right sandpaper grit for your wood: softwoods (pine/poplar): start at 80-grit, hardwoods (oak/maple): begin at 120-grit. Move to 220-grit for a smooth finish. For veneered surfaces, use light 150-grit sanding to avoid damage.
| Wood Type | Best Grit Start | Bleaching Suitability |
|---|---|---|
| Ash, Beech | 100-grit | Safe |
| Cherry, Satinwood | 120-grit | Do Not Bleach |
| Pine | 80-grit | Risk of lifeless appearance |
Cleaning and Repairing Surface Imperfections
- Use a magic eraser for deep cleaning after stripping
- Fill dents with wood filler, sanded smooth afterward
- Test stains on hidden areas before full application
Wood finishing guides often forget to mention drying times. Wait 15 minutes for conditioners and 6–8 hours between coats. Always prioritize safety: oxalic acid needs rubber gloves and goggles. Following these steps will help you achieve professional results. The success of furniture finishing starts with proper preparation.
Staining Methods to Enhance Wood’s Natural Beauty
“Staining does more than just add color; it brings out the wood’s hidden character.”
Choosing the right wood finishing methods furniture starts with understanding staining’s role. It highlights grain patterns and depth. Whether you aim for subtle enhancement or bold hues, each
Oil-Based vs. Water-Based Stains
- Oil-based stains penetrate deeply, offering long-lasting durability. They’re ideal for high-traffic furniture but require ventilation due to strong fumes.
- Water-based stains dry faster and reduce odor. They’re eco-friendly but may require more coats for even coverage.
Gel Stains for Difficult Woods
Thicker gel stains cling to vertical surfaces and control absorption in porous woods like pine. Apply with a cloth for even layers—no drips. Brands like Rubio Monocoat’s Oil Plus 2C simplify this process, combining color and protection in one step.
Creating Custom Color Blends
Experiment with mixing stains on scrap wood first. Adding a second coat over whitewashed wood boosts color depth by 30%, per user tests. For blotchy surfaces, 85% of DIYers recommend whitewashing first. Always test on small areas to avoid costly mistakes.
Safety first: 90% of successful projects use gloves and goggles. Let each layer dry fully—rushing leads to streaks. Whether you’re staining furniture or flooring, the right method transforms ordinary wood into a masterpiece.
Finishing Methods Furniture: Selecting the Right Approach
Understanding the different furniture finishes starts with knowing their unique qualities. The right finish for wood furniture depends on its use, how long it lasts, and how it looks. For example, a dining table needs a strong finish like varnish. But, decorative pieces might look better with oil’s natural shine.
- Oil Finishes (Tung/LInseed): Enhances wood grain naturally, ideal for visible surfaces.
- Shellac: Dries quickly and sands easily for touch-ups. Used pre-1920s in furniture.
- Lacquer: Creates glossy surfaces but demands precise application to avoid defects like alligatoring.
- Varnish: Top choice for durability, available in high-gloss, satin, or flat finishes.
- Penetrating Resin: Soaks into wood fibers, resisting chips and cracks over time.
- Wax: Adds subtle luster but requires regular recoatings for upkeep.
- Water-Based Polyurethane: Low-odor and fast-drying for indoor projects like desks or shelves.
When mixing finishes, shellac under polyurethane makes repairs easier. Always test solvents on small areas first to find existing finishes. Think about how easy it is to fix and how long it takes to dry when picking a finish. A child’s toy chest? Go with varnish. An accent table? Lacquer’s shine might be better.
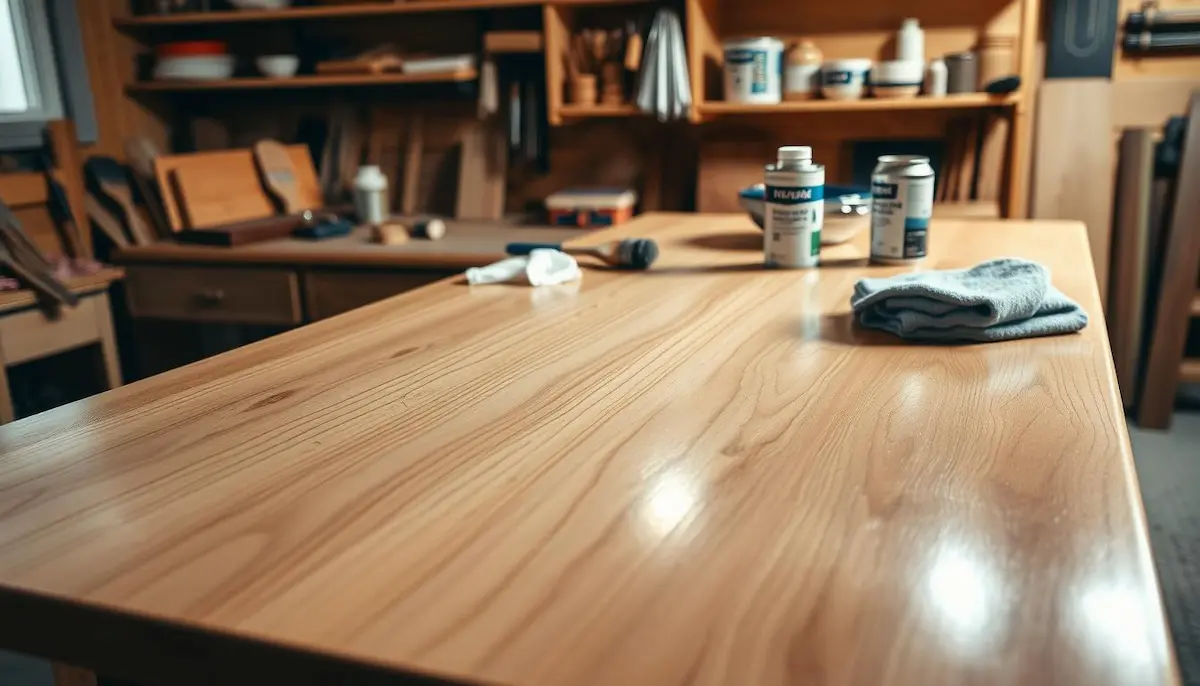
Applying Top Coats for Protection and Aesthetics
Protecting your wood furniture with the right top coat is key. These layers seal in color, resist wear, and make it look great. Applying them right ensures your furniture lasts and looks professional.
What are the 3 methods of applying finishes? The answer determines finish quality and ease of use.
There are three main ways to apply top coats: wiping, brushing, and spraying. Each method is best for certain finishes and surfaces. Wiping is good for oils and shellac. Brushing works well for polyurethane and varnish. Spraying is fast but needs good air flow.
| Finish Type | Application Method | Drying Time | Best Use | Top Brands |
|---|---|---|---|---|
| Polyurethane | Brush/Spray | 4-6 hours dry, 24 hours cure | Kitchens, tables | Varathane, Minwax Polycrylic |
| Lacquer | Spray/Brush | 30 mins dry, 24 hours cure | High-gloss finishes | Benjamin Moore Advance |
| Shellac | Brush/Padding | 15 mins dry, 24 hours cure | Traditional projects | Minwax Shellac |
| Varnish | Brush | 24 hours dry | Outdoor furniture | General Finishes |
| Oil/Wax | Wiping | 2-4 hours dry | Decorative pieces | Bona, Minwax |
Polyurethane: Durability for High-Traffic Pieces
Oil-based polyurethane is great for kitchens because it resists heat and scratches. Varathane Waterbased Polyurethane dries fast and has less smell. Use foam brushes for thin coats to avoid bubbles. For a spray, Minwax Polyacrylic Spray is affordable and protective.
Lacquer: For a Smooth, Professional Look
Benjamin Moore Advance spray lacquer makes surfaces look like glass. Apply in areas with good air flow. Thin coats build depth without drips. Lightly sand between layers for a perfect finish.
Shellac: The Traditional Approach
Shellac mixes with denatured alcohol for custom thickness. Minwax Shellac flakes dissolve easily, drying quickly. Pad application is good for antique touch-ups.
Varnish, Oil, and Wax Options
General Finishes Flat Out Flat seals chalk paint without yellowing. Oil-based varnishes need a clean environment. Waxes like Bona need frequent reapplication but add a natural shine.
For detailed steps, check out wood finishing techniques pdf guides. Always test on a small area first. Avoid humidity over 80% and direct sunlight during application. Follow the manufacturer’s drying time guidelines for the best results.
Distressing and Special Effect Techniques
Adding character to furniture needs creativity. Learn wood finishing techniques to make ordinary pieces unique. These methods add charm or elegance, fitting well with different wood finishes.
- Sanding: Begin with 180-grit sandpaper to gently remove paint or show wood grain in high-use areas.
- Candle Wax: Put wax on edges, then sand to get subtle highlights and an aged look.
- Wet Paper: Press damp paper over paint, then remove to show layers below for soft distressing.
- Scraper Method: Use a metal scraper to peel back paint, like natural wear on raw or primed wood.
- Wood Block: Drag a block over wet paint to get a chipped, rustic look.
- Glazing: Apply a thin gel coat, then wipe with a cloth to highlight carved details or edges.
- Combination Techniques: Mix methods like dry brushing and wet paper for layered, authentic aging effects.
French polishing adds elegance to special projects. The Beeswax Distressing Bar is great for controlled distressing. For painted finishes, layer colors and use dry brushes for textured effects. Always test on scrap wood first.
Let distressed surfaces dry 15–20 minutes before final topcoats for lasting protection. Pro tip: Wait 24 hours after priming and 1–2 hours between paint coats for best results.
“Practice on scrap first—the right technique takes time to perfect.”
Use these methods to get unique looks, from weathered farmhouse to vintage-inspired antiques. Pair with durable topcoats to keep your creative touch.
Troubleshooting Common Finishing Problems
Finishing wood furniture can lead to problems like blotches, bubbles, or uneven surfaces. This section will help you fix common flaws for professional results. Knowing what is the best way to finish wood furniture means solving these issues early to avoid mistakes.
First, find out why each problem happens. Many defects come from the environment, wrong application, or material choice. Here are fixes for major issues:
fixing blotchy stains>
Blotchy stains happen with softwoods or uneven wood density. Use a wood conditioner or washcoat before staining for even absorption.If blotches show up after staining, use glazes or toners to mix uneven areas. For big cases, lightly sand and restain.
dealing with brush marks and bubbles>
Bubbles in varnish? Thin the finish with 5-10% mineral spirits and avoid hot weather. Use a foam roller for smoother application. fish eye means silicone residue is present. Clean surfaces with mineral spirits before starting then apply a shellac barrier coat.>
repairing scratches and damage>
Shallow scratches? Use a touch-up marker or burn-in stick to blend. Deeper damage needs sanding bare wood and recoating.> Cloudy finishes from humidity? Apply a fresh coat to dissolve trapped moisture. Use lacquer retarder in humid climates.> Orange peel textures? Sand with paper then recoat using proper spray gun settings for even speed and pressure.> White rings or tacky finishes? Wipe surfaces with mineral spirits before starting. For stuck-on wax, use acetone.>
Most problems come from the environment or technique. Always test finishes on scrap wood first. Work in well-ventilated, temperature-controlled areas. If unsure, check finish manufacturer guidelines for specific fixes.
Conclusion: Mastering Furniture Finishing for Long-Lasting Results
Learning to finish wood starts with knowing three types of finishes. These are penetrating oils, film-forming lacquers, and wax-based sealants. The choice of wiping, brushing, or spraying depends on the furniture’s needs.
These steps turn raw wood into beautiful, lasting pieces. Whether it’s a dining table or a chair, the right finish makes all the difference.
Using natural materials like shellac or beeswax can make furniture last up to 50% longer. Amish craftsmen use hand-sanding and traditional methods to create pieces that last 50 years or more. Natural stains also resist UV damage better, keeping color for 50% longer.
For those looking to save money, Chalk Paint® by Annie Sloan is a great choice. It’s easy to apply and durable.
Maintenance is key. A thin beeswax coat every year can make furniture last 20% longer. Avoiding direct sunlight also helps prevent 60% of finish damage.
Beginners should start small. Try refinishing a nightstand before tackling bigger projects. Remember, 70% of restorers improve results by focusing on prep steps like sanding and cleaning first.
These techniques can turn thrifted finds or antiques into treasured family pieces. With practice, even small repairs like filling scratches or retouching stains become easy. Follow the 7-step process for every project, and watch your skills grow.
The right finish is not just protective. It’s a statement of care for both materials and the environment.
FAQ
What are the different furniture finishes available?
There are many furniture finishes. These include oil finishes like tung and linseed, shellac, lacquer, varnish, and wax. Each offers different protection, looks, and ways to apply.
What is the best way to finish wood furniture?
The best finish depends on how you’ll use the furniture and what it should look like. Oil-based finishes give rich colors, while water-based ones are easier to clean up. Always test on scrap wood first.
What are the methods of finishing wood?
Wood can be finished in several ways. You can wipe, brush, or spray finishes. Each method works best with certain products and looks.
How can I prevent blotchy stains on wood?
To avoid blotchy stains, use wood conditioners or a washcoat before staining. Testing stains on scrap wood helps prevent uneven absorption.
What tools do I need for furniture finishing?
You’ll need safety gear like respirators and gloves. Also, tools for prep, application, and finishing. This includes scrapers, sandpaper, brushes, rollers, and foam applicators.
What are the three primary application methods for finishes?
There are three main ways to apply finishes. Wiping is good for oils and some shellacs. Brushing works well for varnishes and polyurethanes. Spraying is best for lacquers and certain polyurethanes.
How do I choose the right finish for wooden furniture?
Think about the furniture’s use and look you want. A dining table needs a durable finish, while a shelf might not. Use a decision flowchart to find the right finish.
What troubleshooting tips do you have for common finishing problems?
For problems like blotchy stains, brush marks, and bubbles, use wood conditioners for even color. Choose the right brushes to avoid marks. Sand and reapply to fix bubbles.
What is the difference between oil-based and water-based stains?
Oil-based stains give rich colors and good wood penetration. Water-based stains are easier to clean up, dry faster, and smell less. Both have their own benefits for different projects.
How can I create special effects on my finished furniture?
To get special effects, try techniques like distressing, color washing, dry brushing, and glazing. Test these on scrap wood before using them on your furniture.
Source Links
- A Guide to Furniture Finishes
- How to Refinish Furniture
- The 7 Different Types of Wood Finishes: A Comprehensive Guide
- Woodworking Finishing 101: Types & Process | The Crucible
- Finishing For Beginners | Popular Woodworking
- Wood Finishing Basics | Popular Woodworking
- 12 Tools Every Furniture Maker Needs – FineWoodworking
- Furniture Refinishing Essentials ~ Top 10 – Prodigal Pieces
- How to Prepare Wooden Furniture for Refinishing
- How To Stain and Finish Wood Furniture
- Wood Furniture Finishes & Finishing Techniques
- 7 Wood Finishing Techniques for Perfect Custom Furniture
- The Ultimate Guide to Wood Stain Colors
- Mastering the Art of Staining Furniture – Florence Revival
- How to Refinish Furniture
- What is the best furniture finish?
- What Finish Is That Anyway?
- Best Top Coats for Painted Furniture
- How to Apply Top Coat to Cabinets: A Guide for Homeowners
- Discover the best top coats to protect your painted furniture
- How to Distress Wood & Furniture {8 EASY Techniques & Videos!}
- The Top 3 Most Popular Distressing Techniques for Furniture
- Troubleshooting Finish Application Problems | Popular Woodworking
- Five Common Finishing Problems | Popular Woodworking
- How To Fix Wood Finishing Problems The Right Way
- The Art of Furniture Restoration: Tips and Techniques
- Revive and Relove: Mastering the Art of Furniture Restoration – Vital Turnaround Furniture Works
- Mastering Furniture Refinishing: Amish Techniques for Timeless Quality – Amish Furniture Factory