DIY Hardwood Cutting Boards: The Perfect Thanksgiving Project
Thanksgiving is about gathering around the table, sharing food, and creating lasting memories. Whether you’re carving a turkey or serving roasted vegetables, a solid cutting board is a must. The good news? A handcrafted cutting board is one of the most rewarding woodworking projects you can undertake. Not only is it practical, but it also makes a thoughtful gift for hostesses, friends or family members during the holidays.
With the right router bits and a few woodworking basics, you can make a cutting board that looks professional, is great to use, and lasts for years.
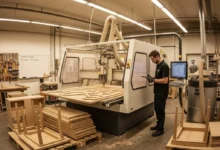
Matt’s downloadable Cutting Board CNC plans detail how to plane the board with grain, V-Carving script (specifically, setting up script lines to cut cleanly), epoxy plane, bevel the edge, prepare and add a juice groove, all on a CNC machine, and how to finish a cutting board. This project can be customized with any text.
Why a cutting board is the perfect Thanksgiving project
- practical: A cutting board is useful every day, especially for preparing and carving for Thanksgiving.
- subjective: You can customize the size, wood type, or even engrave names and designs.
- Worthy gift: Handcrafted cutting boards make beautiful and practical gifts that anyone will appreciate.
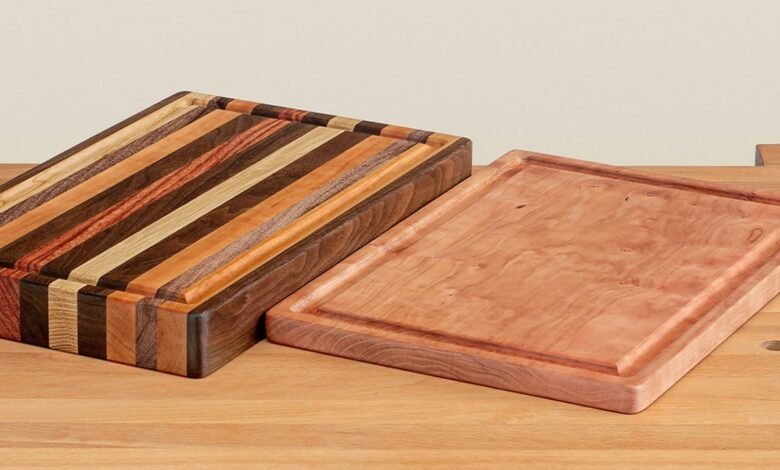
Choose the appropriate wood
The wood you choose will determine how durable and safe your cutting board is. The best options are closed-grain hardwoods:

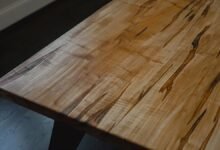

- Maple: A classic choice for cutting boards – solid, durable, and lightweight.
- Walnut: Dark and elegant, great for accent pieces or an entire painting.
- Cherry: A warm tone that darkens with age, adding character over time.
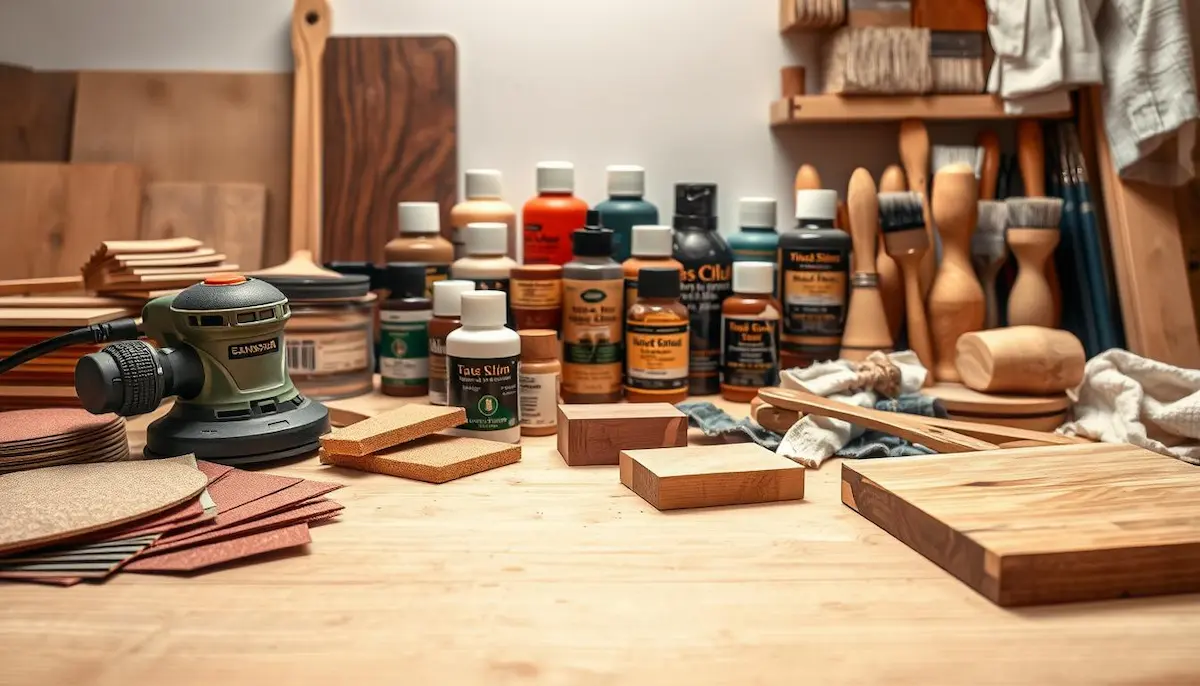
Tools and parts you will need
Here are the basics needed to build a cutting board with clean, professional detail:
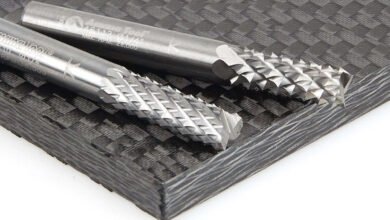
- Straight bits: To flatten and plan inventory.
- Round bits: To smooth edges for comfortable handling.
- Cutting the juice groove: The basic box piece makes it easy to carve the drip channel – perfect for carving a turkey.
- Engraving or V-shaped CNC bits: Optional to add names, dates, or seasonal decorations.
- Clamps, a saw, and a sander complete the setup.

Step-by-step project
- Prepare your inventory: Mill hardwood boards to a consistent thickness.
- Create the void: Glue edge or end-grain pieces to form the panel.
- Surface flatness: Use a CNC surface bit or a straight-bit router sled.
- Cut to size and shape: Make it rectangular for a classic look, or try the oval shape for a unique serving plate.
- Edge shaping: The round part makes the plate comfortable to handle.
- Add juice groove: Dig a shallow channel around the perimeter to catch the meat scraps.
- Personalize it: Optional engraving, inlays, or custom shapes make your board unique.
- Sand and finish: Sand the grains and then apply a food-safe oil or beeswax mixture.
Final touches
Always use food-safe finishes. Mineral oil and beeswax blends are popular options. Reapply oil periodically to keep the board conditioned and protected. Never put a cutting board in the dishwasher; Alternatively, hand-wash and dry immediately.
Inspiring Thanksgiving and beyond
This project is the perfect way to prepare for Thanksgiving – whether you use it to carve your holiday turkey, serve appetizers, or give it as a handmade gift. Once you master the process, cutting boards can become your favorite project throughout the entire holiday season.
Want to take it further? Pair your cutting board with one of our serving tray project plans for a complete holiday gift set.
Final thoughts
A solid wood cutting board is more than just a shop project – it’s a functional piece of art that brings people together around the table. With the convenient router modules from ToolsToday, you can create a board ready for this Thanksgiving and many holidays to come.