How to Avoid Tearing in Plywood (The Complete Guide to Clean Cuts)
How to Avoid Tearing in Plywood? Plywood is strong and stable—but its thin face veneers and alternating grain layers make it vulnerable to tearout. Use these professional techniques to achieve showroom-quality cuts with routers, saws, and CNC machines.
Why Plywood Tears Out (and How to Prevent It)
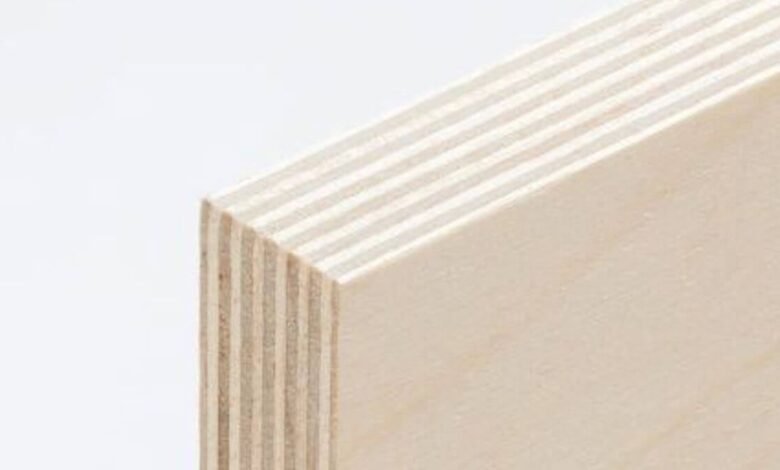
Plywood is built from multiple thin layers of wood veneer, each glued at 90° to the next. This cross-grain structure provides excellent strength and stability—but it also means your cutting tools are always working with the grain on one layer and against it on the next. Combine that with thin face veneers and hard glue lines, and tearout becomes a common challenge.

What Exactly Is Plywood?
Plywood is made from three or more layers of wood veneer bonded with adhesive. Each layer’s grain runs perpendicular to its neighbor for maximum stability. The face veneers are thin and decorative, while the inner layers provide most of the structural strength.
Quick Take:


- Pros: Strong, dimensionally stable, and cost-effective panels.
- Cons: Thin veneers, alternating grains, and glue lines increase tearout risk.
Why Plywood Is Prone to Tearout
- Alternating grain: Each pass hits end grain on some layers, lifting and tearing fibers.
- Thin face veneers: Even minor chips expose the core and can’t be sanded out.
- Core voids: Lower-grade sheets may contain gaps that cause breakout during cutting.
- Glue lines: Hardened resin dulls blades and causes tearing instead of slicing.
- Unsupported exits: Without backing, fibers lift and break at the tool’s exit point.
Tearout: Plywood vs. Solid Wood
| Factor | Solid Wood | Plywood |
|---|---|---|
| Grain Direction | Consistent; occasional issues near knots. | Alternating layers cause conflicting grain directions. |
| Surface | Full thickness allows sanding and planing. | Thin veneer—tearout easily exposes core. |
| Internal Structure | Uniform material. | Glue lines and possible internal voids. |
| Tool Wear | Slower wear. | Glue dulls tools faster. |
| Edge Tearout | Mainly on exit edge. | Occurs on both entry and exit edges. |
How to Avoid Tearout in Plywood
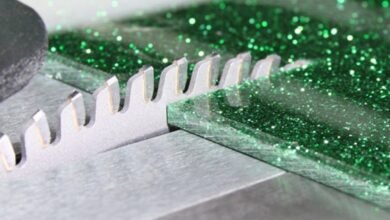
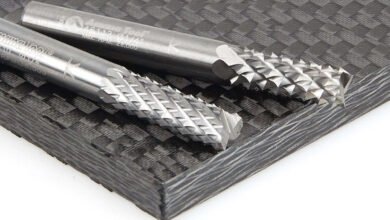
1. Choose the Right Cutter
- Router or CNC: Use spiral carbide bits.
- Down-cut spirals: Press fibers downward for a clean top surface.
- Up-cut spirals: Pull chips up for a clean bottom surface.
- Compression bits: Combine both for clean cuts on both faces—ideal for plywood.
- Table or circular saw: Use a fine-tooth carbide plywood blade (e.g., 60–80 teeth on a 10″ blade).
- Jigsaw: Choose a reverse-tooth plywood blade for a clean top surface.
Tool Note: Compression bits with up/down geometry are the gold standard for CNC plywood cutting.
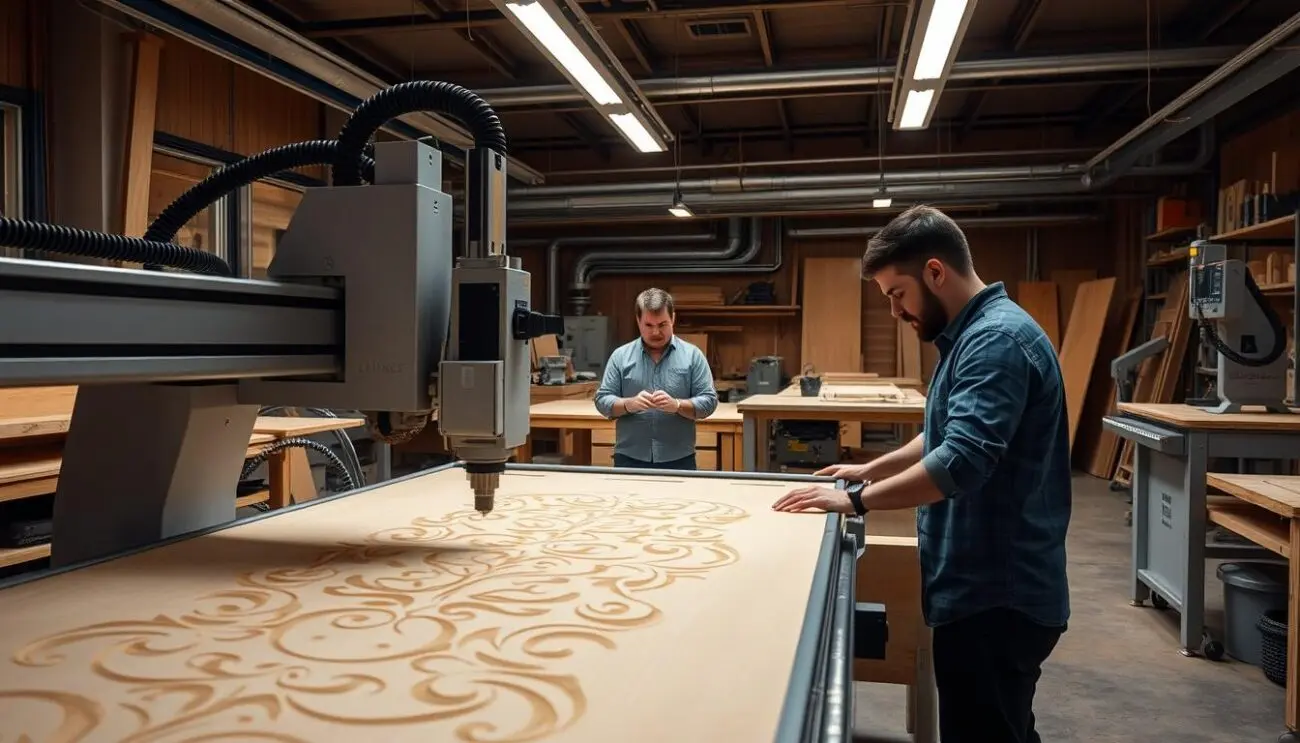
2. CNC-Specific Tips
- Choose a compression bit sized so the neutral point sits within the panel’s thickness.
- Make multiple shallow passes—finish with a 0.3–0.5 mm cleanup pass.
- Use vacuum or onion-skin tabs (~0.3 mm) to prevent movement and breakout.
- Conventional cutting often yields cleaner edges than climb cuts.
- Keep dust extraction strong—clean chips reduce veneer lifting.

3. Keep Tools Razor-Sharp
- Plywood glue lines dull edges faster—sharpen or replace bits and blades more often than with solid wood.
- Increased noise or cutting resistance often signals a dull edge.
4. Support the Fibers
- Use zero-clearance inserts on saws to eliminate gaps around the blade.
- Use sacrificial backing boards when routing, drilling, or sawing to prevent blowout.
- Apply painter’s tape over the cut line to hold fibers together.
- Score the veneer with a sharp utility knife before cutting.
5. Optimize Feed, Speed, and Pass Strategy
- Leave 0.3–0.5 mm for a final finishing pass.
- Feed too fast → tearing; too slow → burning. Find the sweet spot.
- Use light climb passes carefully for smoother veneer edges.
6. Orient for the Clean Face
- Table saw: Best face up (teeth cut downward).
- Circular saw: Best face down (teeth cut upward).
- Router: Match bit direction to protect visible surfaces—down-cut for top, up-cut for bottom, compression for both.
Common Mistake: Don’t try to sand away tearout. You’ll expose the core and ruin the finish. Prevent it with proper tooling and setup.
Quick Checklist: Tools That Reduce Tearout
- Compression, up-cut, and down-cut spiral bits (solid carbide).
- High-tooth-count plywood blades with zero-clearance inserts.
- Painter’s tape, sharp marking knife, and sacrificial backing boards.
- Effective dust extraction for cooler, cleaner cuts.
Visit Toolstoday or Amana Tool for professional-grade plywood tooling.
Frequently Asked Questions
How do I get clean cuts in plywood with a circular saw? Use a fine-tooth plywood blade, set the best face down, and apply painter’s tape over the cut line. What router bit is best for plywood? A compression spiral bit gives clean cuts on both faces. Use sharp carbide bits and proper feed speeds. Can tearout be fixed? Minor tearout can be filled and sanded, but it’s best to prevent it with sharp tools and proper support.
Bottom Line
Tearout happens because of plywood’s layered construction. But with sharp spiral tools, solid support, smart feed strategy, and the right tool orientation, you can achieve smooth, factory-quality edges every time.
External Resources
- Toolstoday — Professional Cutting Tools for Woodworking
- Amana Tool — High-Performance Router and Saw Blades
- Popular Woodworking — How to Cut Plywood Without Tearout
- Fine Woodworking — Tearout-Free Plywood Cuts Guide
- Wood Magazine — Complete Plywood Buying and Cutting Guide