

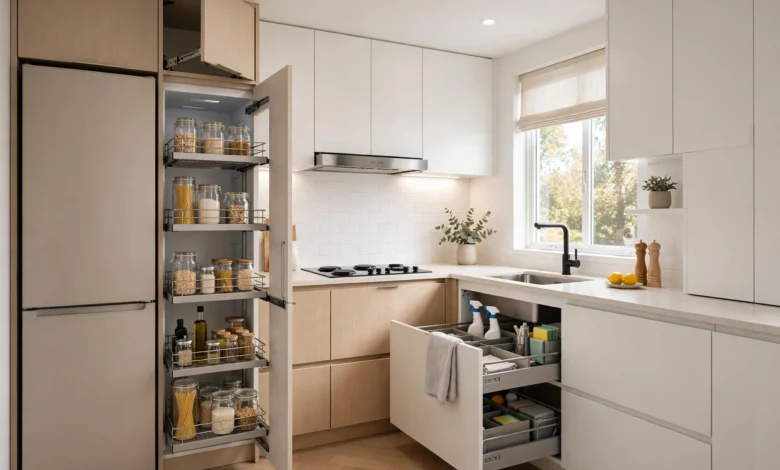
A small kitchen works when three things are right: a compact work triangle, cabinets built to standard depths and heights, and storage that climbs the walls instead of eating the floor. Get those right and a small kitchen cabinet design can out-cook a big careless one. This guide gives you the layout rules, the measurements and the corner solutions that make small footprints feel generous.
Key takeaways
- Keep the sink, hob and fridge triangle tight: short legs, no obstacles, no through-traffic.
- Standard dimensions exist for a reason: roughly 60 cm deep base cabinets and worktops at about 90 cm suit most cooks.
- Vertical storage is your biggest win: full-height units and wall cabinets to the ceiling multiply capacity.
- Corners are solvable with pull-outs, carousels and diagonal units instead of dead voids.
- Protect appliance clearances and door swings on the plan, not after installation.
What is the work triangle, and how does it change in a small kitchen?
The work triangle links your sink, hob and fridge — the three points you move between constantly. In a small kitchen the rule inverts: instead of preventing a triangle that is too large, you prevent one that is too cramped and blocked. Each leg should be short but unobstructed, and the total loop should let you pivot between stations in a few steps.
In the smallest kitchens the triangle flattens into a line or an L, and that is fine. What matters is sequence: fridge to sink to hob should follow the order food actually moves. Land from shopping at the fridge, wash and prep at the sink, then cook at the hob, with worktop between each station.

The landing-space rule
Every station needs a landing space: worktop beside the fridge for bags, beside the sink for washing up, and on both sides of the hob for hot pans. In small kitchens these spaces compete, so plan them explicitly on your layout before choosing cabinet runs.
Which dimensions should a small kitchen cabinet design build to?
Build to the standards in the table below unless your household’s heights demand otherwise. These numbers evolved around human reach, standard appliances and sheet-material efficiency, so departing from them should always be a deliberate choice, not an accident.
| Element | Standard dimension | Why it matters |
|---|---|---|
| Base cabinet depth | ~60 cm including door | Matches standard worktops and appliances |
| Worktop height | ~90 cm (adjust ±5 cm to the cook) | Comfortable chopping and stirring height for most adults |
| Wall cabinet depth | ~30–35 cm | Storage without head-bumping over the worktop |
| Gap: worktop to wall cabinet | ~50–60 cm | Room to work, see and use small appliances |
| Walkway between runs | ~100–120 cm | One cook passes; two cooks pass at the top end |
| Toe-kick height | ~10 cm | Lets you stand close to the worktop |
| Fridge / oven clearance | Manufacturer spec + door swing | Ventilation, safety and doors that actually open |
Model your layout at these dimensions before ordering anything. Working in a purpose-built tool like Sketch3D-Art Studio Pro lets you test cabinet runs, heights and clearances in 3D and see the cut list change as you adjust — far cheaper than discovering a clash with a delivered kitchen.
How do you multiply storage vertically?
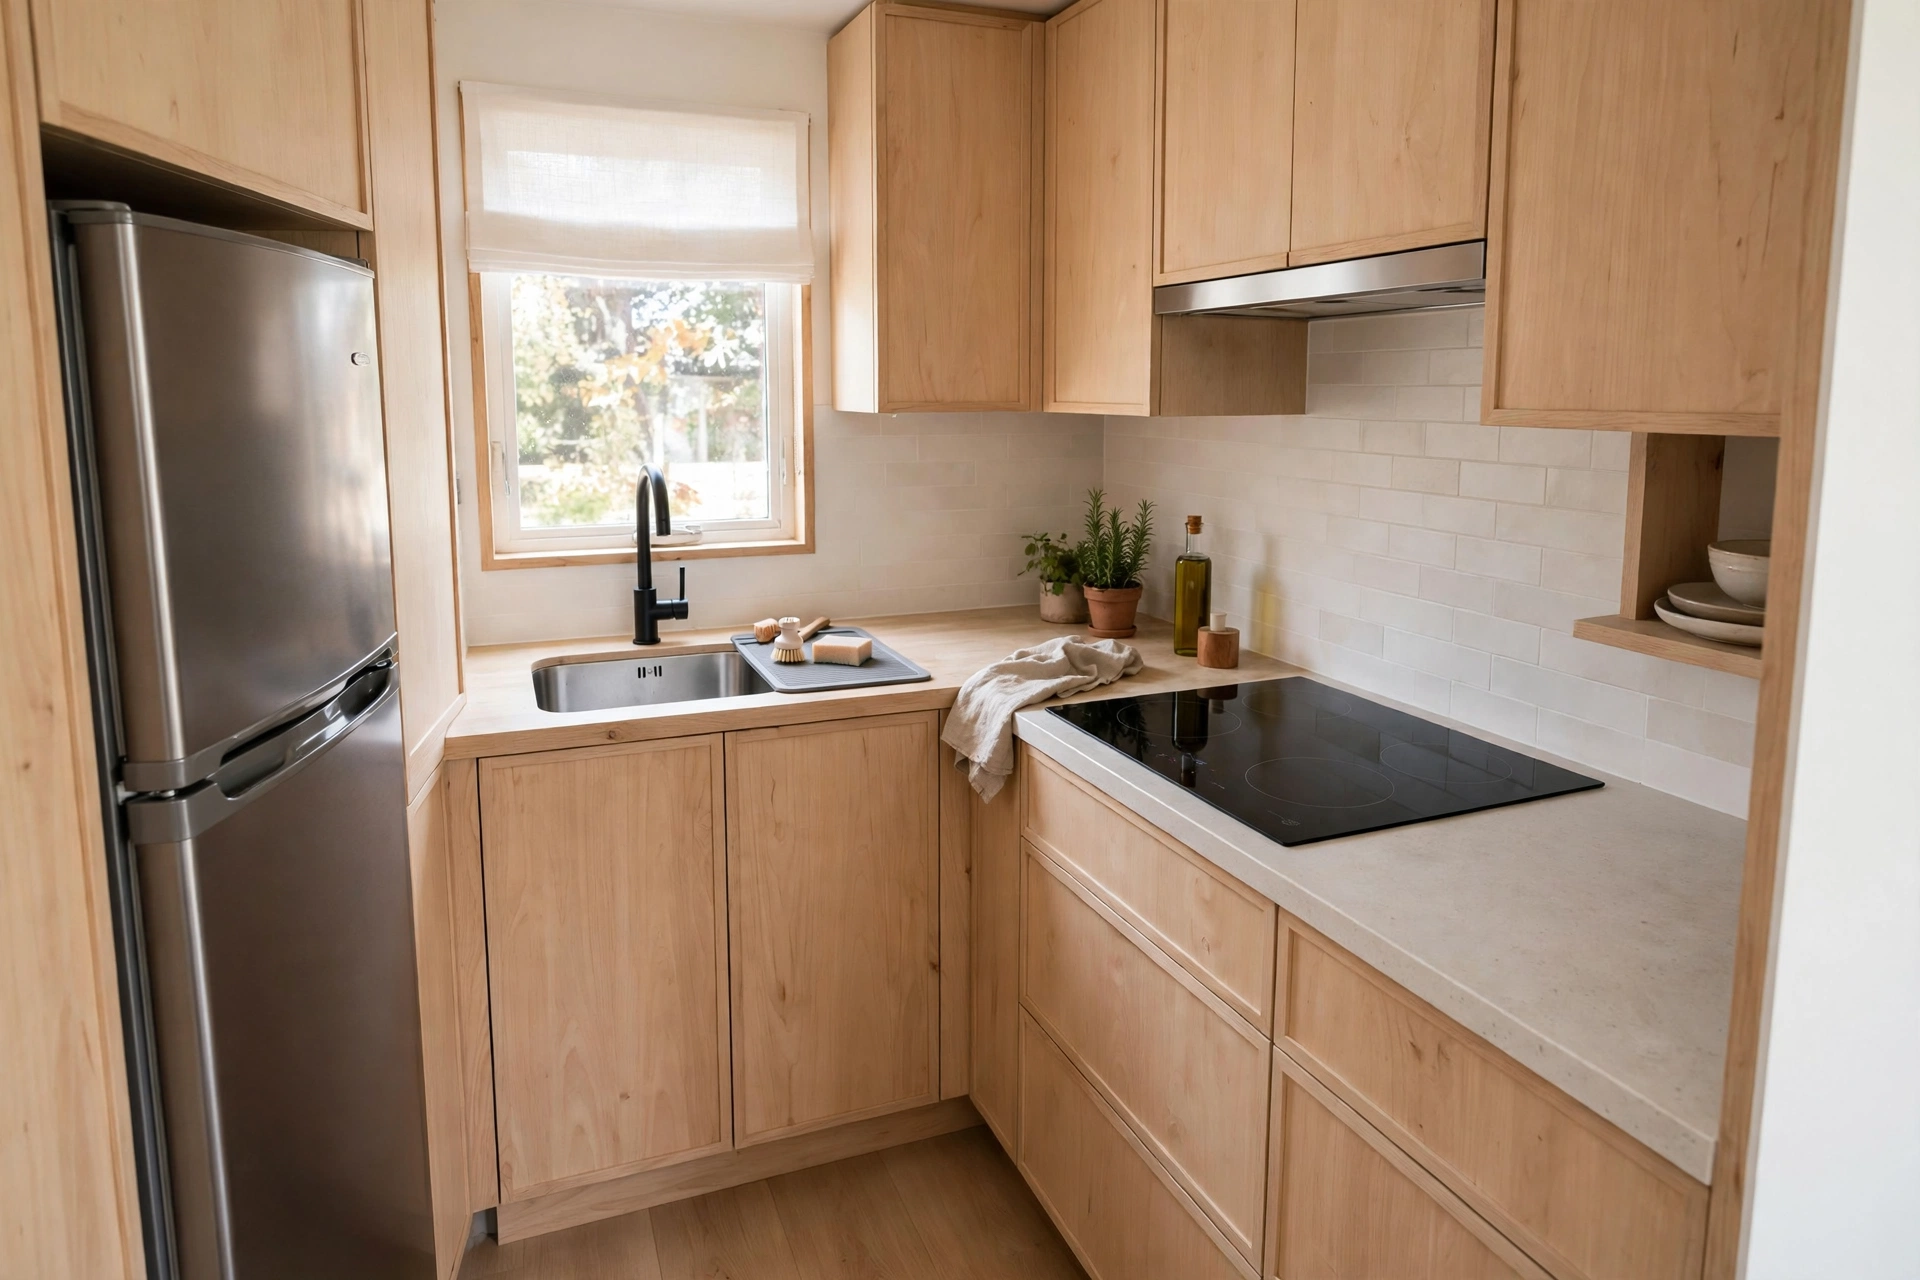
Go up. Small kitchens waste their most valuable volume — the wall above head height and the run to the ceiling. Full-height units, ceiling-height wall cabinets and shallow shelves in dead gaps routinely add a third more storage without touching the floor plan.
Vertical storage moves, in order of impact
- Extend wall cabinets to the ceiling and store rarely used items at the top.
- Add one full-height tall unit for brooms, bulk food or an integrated oven.
- Fit shallow shelves or rails in gaps too narrow for cabinets.
- Use the inside of cabinet doors for lids, wraps and spice storage.
- Add drawer inserts and dividers so deep drawers hold two organised layers.
- Hang daily tools on a rail between worktop and wall cabinets.
Drawers beat cupboards almost everywhere below the worktop. A deep drawer shows you everything at a glance; a deep cupboard hides a lost zone at the back. If budget forces a choice, spend it on drawers in the prep zone first.
What actually works in corners?
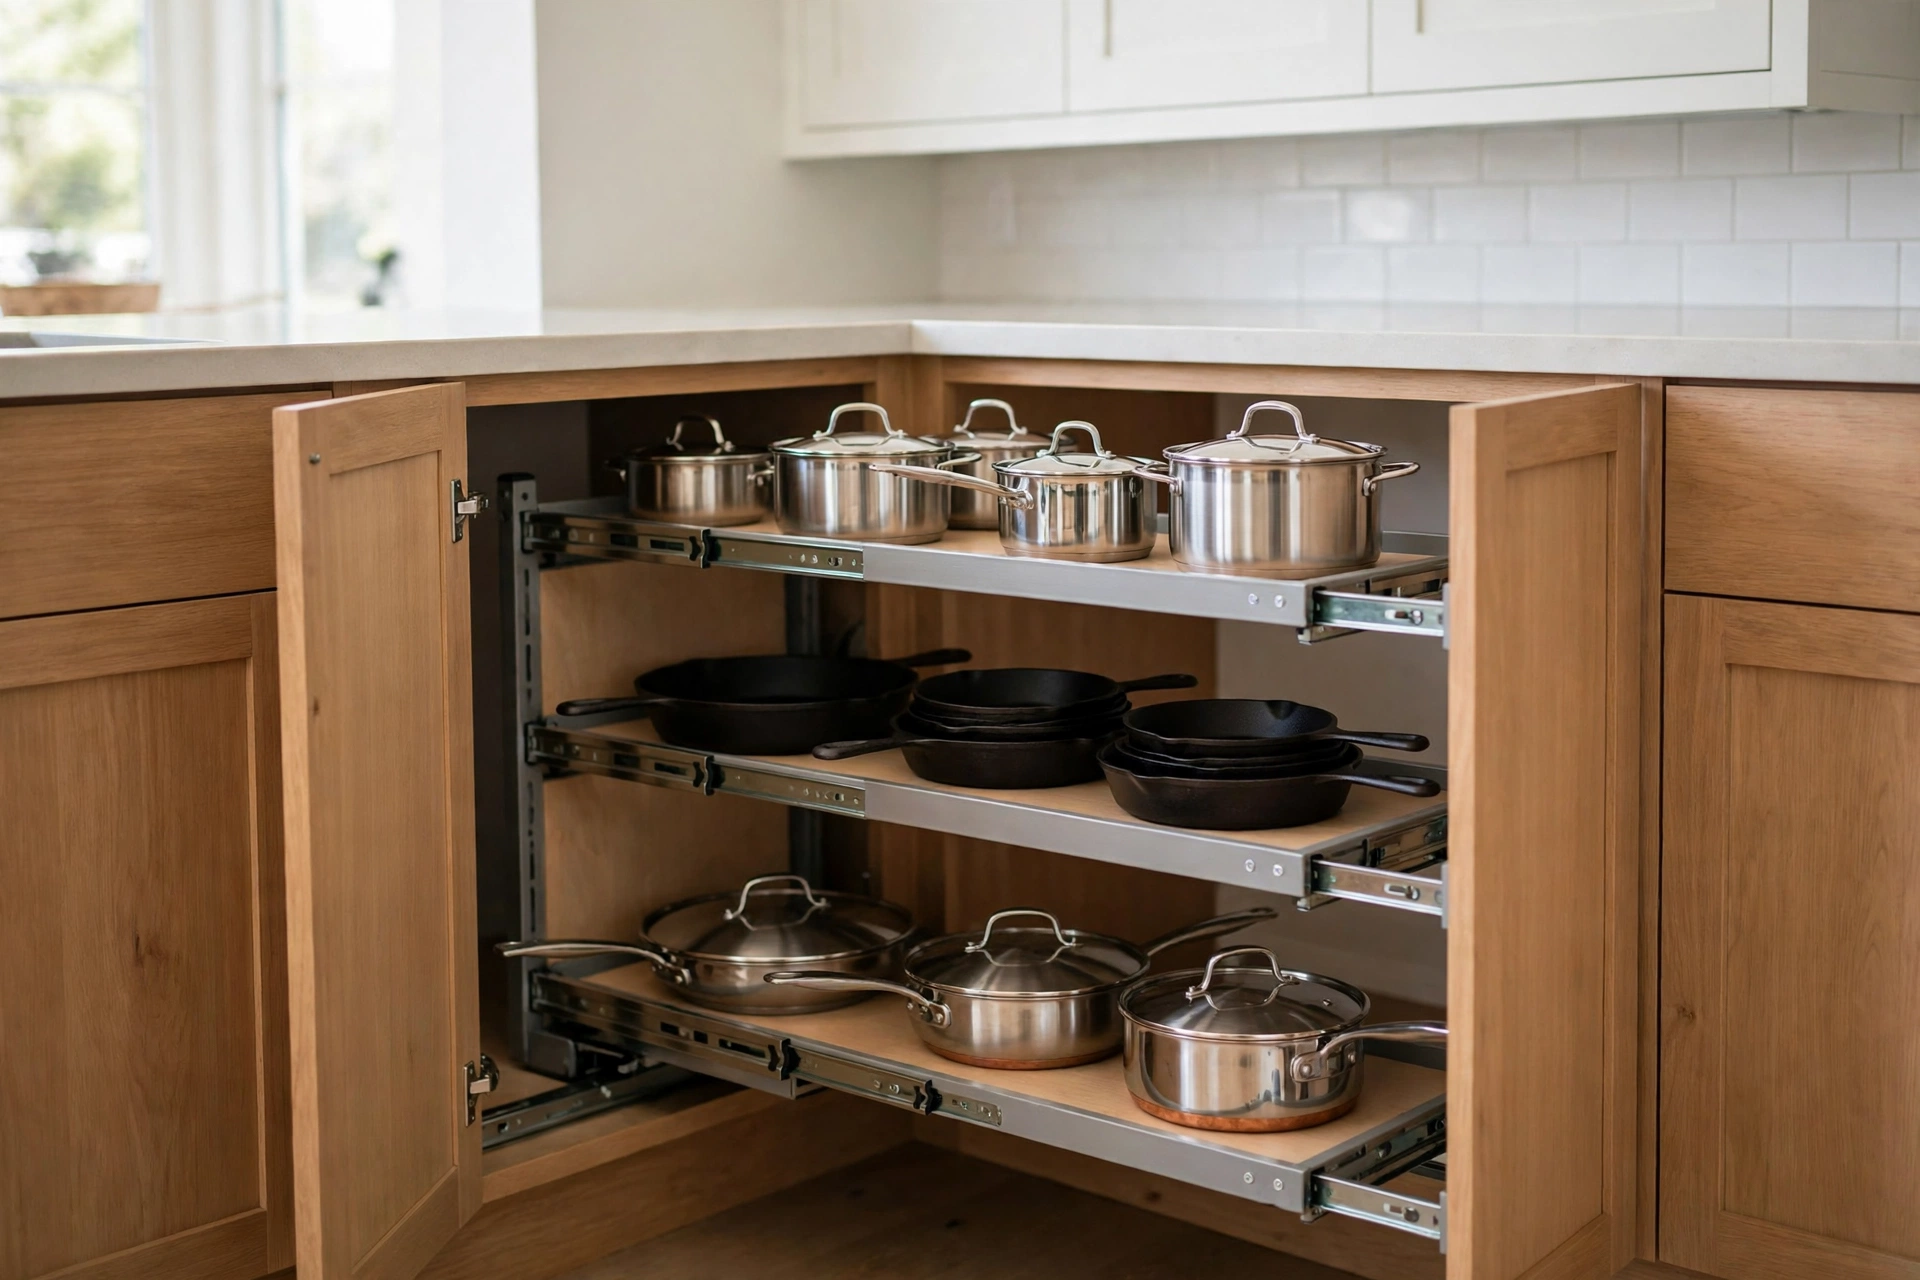
Corners fail when they become voids you reach into blindly. They succeed when a mechanism brings the contents to you. Pull-out corner units, carousel trays and diagonal corner cabinets all work; the right choice depends on whether the corner is in a base run, and what you store there.
Match the solution to the storage
- Pull-out systems: best for heavy pots and small appliances you use weekly.
- Carousels: best for lighter, frequently grabbed items like containers and dry goods.
- Diagonal cabinets: best where a softer visual line matters and reach is still acceptable.
- Dead corner: acceptable only if the kitchen is genuinely too small for mechanisms — seal it knowingly, not by default.
Browse complete small-kitchen systems from manufacturers such as IKEA to see these mechanisms in person before committing; corner hardware is a feel decision as much as a spec decision.
How do you protect clearances and door swings?
On paper, before anything is ordered. Mark every door swing — fridge, oven, dishwasher, cabinets — on the plan and check for collisions. Confirm the fridge can open past ninety degrees so its drawers pull out. Verify ventilation gaps behind integrated appliances against the manufacturer’s specification.
Before you start: what you need
- Accurate room measurements, including window and door positions and ceiling height.
- The exact dimensions of appliances you already own or have chosen.
- Your cooking pattern: who cooks, how many at once, what gets used daily.
- A list of everything to store, sorted by how often you reach for it.
Which layout fits your room shape?
Match the layout to the room’s walls and openings, not to a photograph. Each classic layout has a footprint where it shines and a size below which it turns against you. Work through the four options below against your measurements before falling in love with any of them.
Single-wall kitchens
Everything runs along one wall, leaving the rest of the room open. This suits studios and very narrow rooms. Keep the sequence fridge–sink–hob in order, maximise drawers below, and let a movable trolley or folding table supply the extra worktop the run cannot.
Galley kitchens
Two parallel runs with a walkway between them. Galleys are wonderfully efficient for one cook when the walkway stays near the top of the standard range. Put the sink and hob on the same run to avoid carrying hot pans across the walkway while turning.
L-shaped kitchens
The most forgiving small layout: two adjoining runs, an open corner for a small table, and a natural triangle. Solve the corner with a mechanism from the section above and this layout rarely disappoints. For style direction at this scale, the compact kitchens among our interior design examples show how much character fits a small footprint.
U-shaped kitchens
Three runs wrap the cook in worktop and storage, but only when the room is wide enough to preserve the walkway. In a too-narrow U, two cooks cannot pass and corner cabinets collide. Measure honestly; a good L beats a cramped U.
Light and worktop: two upgrades that punch above their size
Small kitchens feel cramped most often because they are dark at the worktop, not because they are small. Under-cabinet lighting removes the shadow your own body casts and makes every preparation task easier; it is the cheapest transformation available in most kitchens. Pair it with ruthless worktop discipline: the storage plan above should give every small appliance a home, so the worktop holds only what today’s cooking needs. A clear, lit worktop makes a modest kitchen feel twice its size.
Choose the worktop material for your real habits, too. Butcher block forgives and can be re-sanded; stone and quality composites shrug off heat and stains; laminate has improved enormously and protects the budget for drawers and mechanisms, where money works harder.
Common mistakes
- Copying a big-kitchen layout into a small room. Islands and wide walkways eat the space small kitchens cannot spare.
- Wall cabinets at random heights. Misjudge the worktop gap and you lose either headroom or usable storage.
- Choosing cupboards where drawers belong. Deep base cupboards become lost-item archives within a year.
- Sealing corners by default. A blind void is the single biggest storage waste in most small kitchens.
- Ignoring door swings. A fridge that cannot open fully makes its own drawers useless.
- Stopping wall cabinets short of the ceiling. The dusty gap above stores nothing and visually shrinks the room.
Frequently asked questions
What is the best layout for a very small kitchen?
Usually a single-wall or L-shaped layout. Both keep the work sequence tight and preserve floor space. Add a U shape only when the room is wide enough to keep the walkway comfortable after both runs are in.
How high should wall cabinets be above the worktop?
Between about 50 and 60 centimetres works for most cooks and appliances. Go lower and you crowd the worktop; go higher and everyday items leave comfortable reach. Adjust within that band to the main cook’s height.
Are drawers really better than cupboards?
Below the worktop, yes, in most cases. Drawers bring contents to you and use their full depth visibly. Cupboards still suit tall, bulky or rarely used items, especially in tall units.
Can a small kitchen fit a dishwasher?
Usually yes: slimline models exist precisely for small kitchens, and giving up one 45 cm cabinet is often worth it. Plan the plumbing position early, ideally beside the sink.
How do I make a small kitchen feel bigger without extending?
Use full-height cabinetry to draw the eye up, keep worktops as clear as your storage plan allows, and run consistent colours across cabinets and walls. Perceived size follows visual calm more than raw dimensions.
Keep learning: once the layout is fixed, the cabinets still have to be costed honestly — our furniture cut list guide shows how every panel becomes a price.
Conclusion
Tighten the triangle, build to proven dimensions, climb the walls with storage, mechanise the corners and defend your clearances on the plan. Those five rules turn a small kitchen from a compromise into a room that cooks beautifully every day.
Your next step: measure your kitchen tonight and sketch the fridge-sink-hob sequence as it exists now — then mark the one change that would shorten it most. Which rule would transform your kitchen first?


 English
 العربية
 Français