


Good flat pack furniture design is engineering, not styling: the piece must be strong enough for twenty years of daily use, yet come apart into a flat box that survives a delivery van, climbs three flights of stairs, and goes together in a customer’s living room with one Allen key and no workshop. Every decision — joint, panel, screw, carton — is a negotiation between those two lives.
This guide teaches you how designers win that negotiation. You will learn the knock-down joint systems, the constraints that shape every drawing, a step-by-step design process, and the failure points that separate thoughtful flat pack furniture design from the wobbly kind.
Key takeaways
- Flat-pack joinery must locate parts precisely, pull them tight and resist racking — without glue, a bench, or a maker.
- Cam-and-dowel is the industry workhorse, slot-together CNC joints remove hardware almost entirely, and confirmat screws give the strongest removable fixing.
- Panel thickness, tolerance stack-up, hardware count and carton size constrain a design more than its silhouette does.
- Most failures happen at connections, not in the middle of panels — so design effort belongs on joints, fixings and assembly order.
- Prototype the joint, not just the piece, and test it in the real sheet material before committing to production.
What makes flat pack furniture design different?
Flat pack furniture design differs from traditional furniture making because the person who assembles the piece is not the person who designed or cut it. Traditional joinery assumes a maker, a bench and glue; flat-pack joinery assumes none of those. It has to locate parts precisely, pull them tight, resist racking forces, and ideally survive being assembled, disassembled and reassembled when the owner moves house.

That single difference cascades through everything. Tolerances must absorb an amateur’s assembly on a carpet. Instructions become part of the engineering. And the carton — its size, weight and survival of a drop test — becomes a design surface in its own right.
Before you start: what you need
- A chosen sheet material and thickness. Most flat-pack carcasses are designed around standard board thicknesses — commonly 15, 16 or 18 mm — and that number must be fixed before anything else.
- A short list of standard fittings. Decide your cam, dowel and screw types up front and reuse them across the whole piece.
- Your carton limits. Know the maximum panel length and packed weight your shipping method allows before you draw a single panel.
- A way to prototype joints. Offcuts of the real sheet material and the real fittings, so test joints tell the truth about production.
Knock-down joinery: the heart of flat pack furniture design
Three joint families do almost all the work in flat-pack furniture. Learn what each one is good at — and where each one fails — and you can read any product’s quality from its joint map alone.
Cam and dowel systems
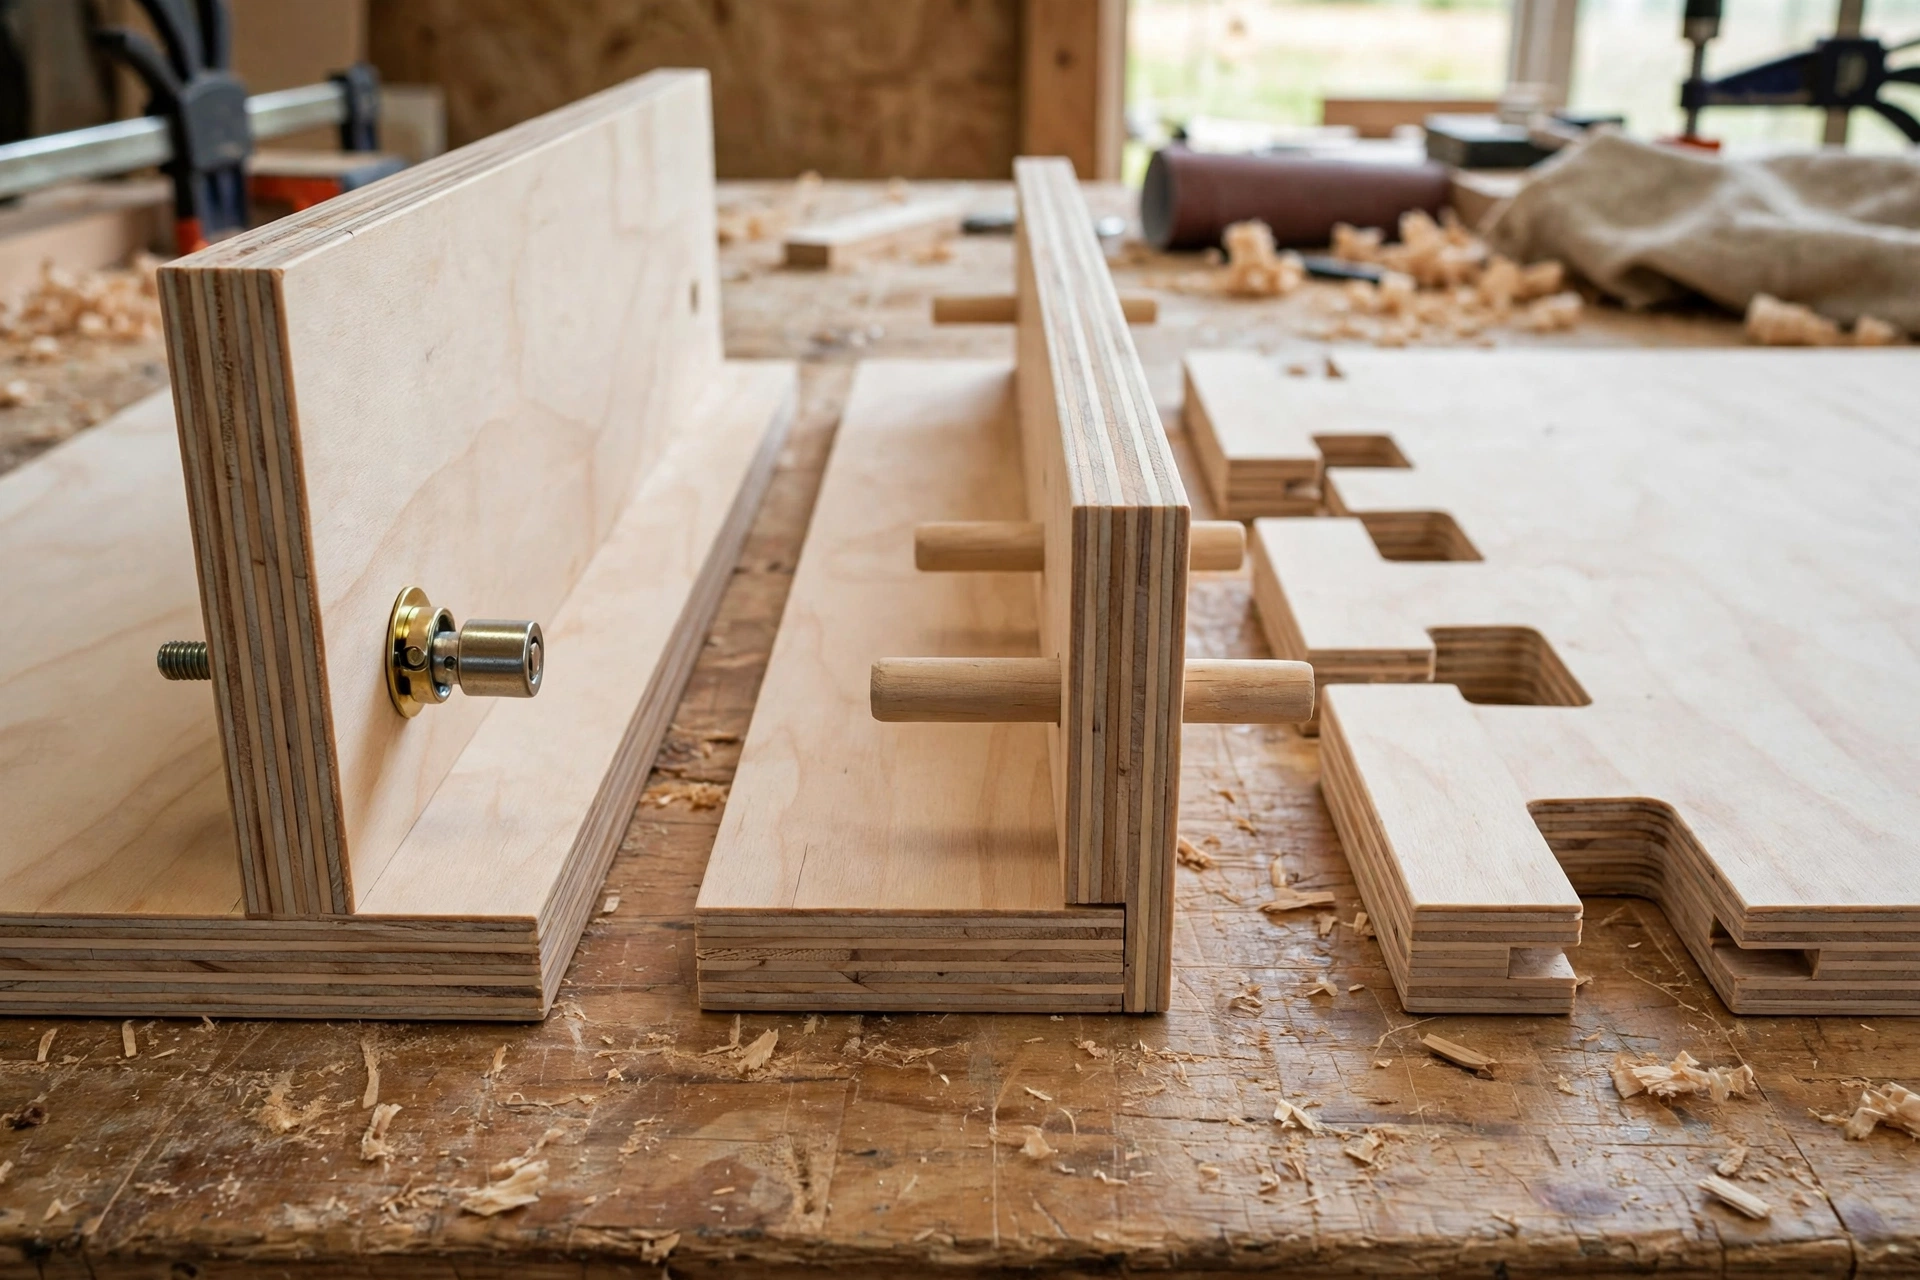
The workhorse of the industry is the cam lock: a metal disc set into one panel that rotates to grip the head of a bolt screwed into the mating panel, usually paired with wooden or plastic dowels that handle alignment and shear. It is fast, hidden, and strong enough for carcasses like wardrobes and bookcases.
Its weakness is repetition — each disassembly slightly crushes the particleboard around the fitting, so cam joints in low-density board have a finite number of moves in them. Designers who care about longevity specify denser board around fittings, or switch high-stress joints to metal-to-metal connections.
Slot-together CNC joints
CNC-cut plywood furniture often skips hardware almost entirely. Tabs slot into matching mortises, sometimes wedged, sometimes held with a single screw, and the geometry of the joint does the work. Done well, this produces furniture that assembles like a puzzle and can be flat-packed again in minutes. Done badly, it racks and creaks.
The difference is tolerance: a slot that is 0.2 mm too loose feels sloppy; 0.2 mm too tight will not assemble at all in humid weather when the plywood swells. Experienced designers prototype the joint, not just the piece, and cut test coupons from every new batch of sheet material — a habit worth borrowing from the prototyping discipline covered in our guide to prototyping 3D designs and their tools.
Dowels, confirmat screws, and hybrids
Plain dowels with glue are cheap and strong but sacrifice disassembly. Confirmat screws — coarse-threaded screws designed for panel materials — give a genuinely strong, removable joint and are common in better-quality flat pack.
Many real products mix systems: cams where the customer needs speed, screws where the structure needs strength, dowels everywhere for alignment. The joint map of a piece is one of the clearest signatures of how seriously its designer took the brief.
Flat-pack joint systems compared
Compare the main systems before you commit a design to one of them. In practice, most durable pieces combine two or three rows of this table.
| Joint system | How it holds | Disassembly | Strengths | Limits |
|---|---|---|---|---|
| Cam lock + dowel | Rotating cam grips a bolt head; dowels align and resist shear | Yes, but each cycle crushes low-density board slightly | Fast, hidden, ideal for carcasses | Finite reassembly life in particleboard |
| Slot-together CNC | Tabs and mortises interlock; geometry does the work | Yes, in minutes, often tool-free | Almost no hardware; packs flat again easily | Tolerance-critical: 0.2 mm too loose or tight ruins it |
| Confirmat screw | Coarse thread bites directly into panel material | Yes, genuinely removable | Strong, simple, cheap | Visible screw heads; needs accurate pilot holes |
| Glued dowel | Dowels plus adhesive | No — permanent | Cheap and strong | Sacrifices the whole point of knock-down design |
The constraints that shape every design
Four constraints quietly dictate what a flat-pack piece can be. Respect them early and the design flows; discover them late and you redesign the product.
- Panel thickness is destiny. That standard 15, 16 or 18 mm figure dictates edge banding, hardware choice, shelf spans, and how much load a fixing can carry. Change the board and you redesign the product.
- Tolerance stacks up. A single panel cut 0.5 mm oversize is nothing. Ten of them in a row become a carcass that will not square. Designs need deliberate clearance at non-critical joints and precision only where it matters.
- Hardware is a cost and a promise. Every fitting adds parts cost, packing time, and a chance for the customer to lose a screw. Good designers count fittings the way accountants count money, and standardise on as few types as possible.
- The carton is part of the product. Panel sizes are routinely adjusted so the largest piece fits a standard carton, passes a drop test, and keeps the packed weight within one-person or courier limits. If the box fails, the furniture never gets its chance. The format was pioneered at scale by IKEA, whose flat-pack model proved that designing for the box is designing for the customer.
How to design a flat-pack piece, step by step
Follow this order and each decision locks down the next one, instead of unravelling it later.
- Fix the sheet material and panel thickness first, because every fitting, span and edge detail depends on them.
- Sketch the carcass and mark every joint on a joint map, noting which joints carry racking loads and which only locate parts.
- Assign a joint system to each connection: cams for speed, confirmat screws for strength, slot geometry where hardware can disappear.
- Check the largest panel against your carton limits, and split or resize panels now if the box demands it.
- Count every fitting, standardise the types, and delete any joint that a simpler one can replace.
- Cut joint prototypes from the real sheet material and assemble, disassemble and reassemble them several times.
- Adjust tolerances based on the prototypes — loosen what binds, tighten what racks — before cutting the full piece.
- Write the assembly sequence and check that one person, working on the floor, can reach every fitting in the order the instructions demand.
Packaging-driven design decisions
Ask a flat-pack designer about their prettiest piece and they will often talk about the box. Long panels are split not because the furniture looks better that way, but because a shorter carton is cheaper to ship and far less likely to arrive damaged.
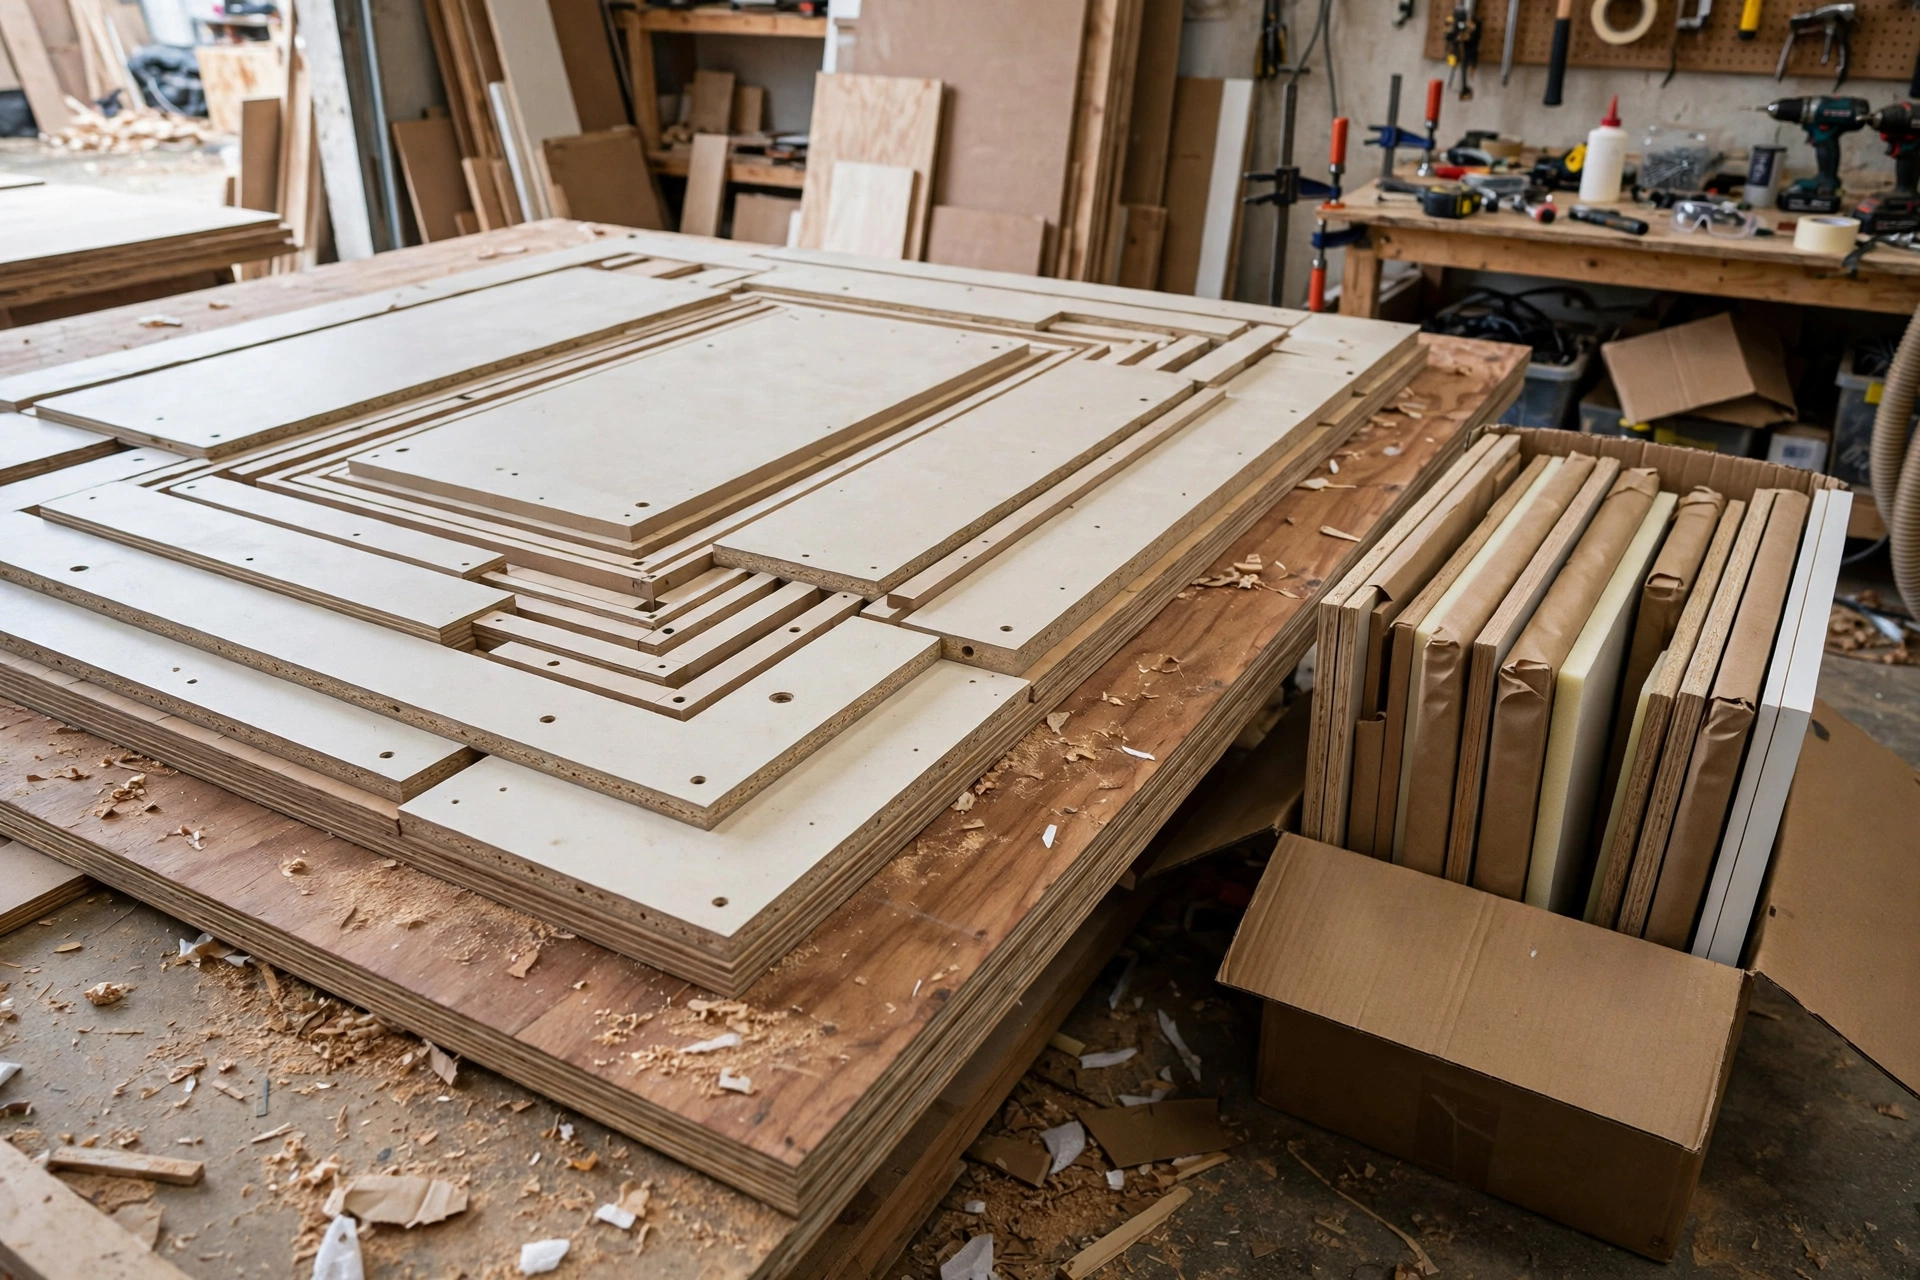
Nesting parts — arranging cut pieces so offcuts of one panel become components of another — reduces both material waste and box volume. Even the instruction sheet is a design surface: the order of assembly determines which joints must be accessible, which panels need pre-fitted hardware, and whether one person can realistically build the piece alone on a carpet.
This is also where digital design tools earn their keep. Modelling the piece in 3D, checking every joint virtually, and exporting an accurate cut list before cutting a single panel prevents the expensive kind of surprise. A tool like Sketch3D-Art Studio Pro fits naturally into this stage of the workflow: design the piece parametrically, then export the cut list so panel sizes, quantities, and hardware counts are right before they reach the saw. It is no accident that flat-pack pieces now anchor many of the interior styles currently trending — efficient furniture suits the way people actually live.
Common mistakes
- Ignoring the back panel. Backs made from thin hardboard carry more racking load than owners realise; when the back is loosely nailed or omitted, the whole carcass twists. Slot the back into grooves instead.
- Letting shelf pins carry repeated loads in bare particleboard. Pins pull out over time. Metal sleeves or through-bolted supports fix it permanently.
- Mounting hinges where screws bite too little material. Hinges tear out of cabinet doors for exactly this reason; specify hinge cups in denser zones or add reinforcement plates.
- Blaming materials for a leaning bookcase. The classic lean is usually a tolerance problem, not a materials problem — the stack-up of small oversizes pulled the carcass out of square.
- Designing the piece and then the box. If the carton is an afterthought, the largest panel will not fit it, and the redesign will cost more than the furniture saved.
Frequently asked questions
How many times can flat-pack furniture be reassembled?
It depends on the joint and the board. Cam joints in low-density particleboard degrade a little with each disassembly, while confirmat screws and slot-together plywood joints survive many more cycles. Designing high-stress joints as metal-to-metal connections extends the count considerably.
Why are flat-pack panels usually 15–18 mm thick?
Those are the standard sheet thicknesses the whole supply chain is built around: edge banding, fittings, hinge cups and shelf spans all assume them. Designing around a standard thickness keeps hardware cheap and available; changing the board means redesigning the product.
Are slot-together CNC joints strong enough for real furniture?
Yes, when the tolerances are right. The geometry carries the load, and well-cut plywood joints assemble like a puzzle and re-pack in minutes. The risk is precision: a slot 0.2 mm too loose racks, and 0.2 mm too tight will not assemble when the plywood swells.
What is a confirmat screw?
It is a coarse-threaded screw designed specifically for panel materials such as particleboard and MDF. It bites deeply, pulls panels together tightly, and — unlike a glued dowel — can be removed and refitted, which makes it a favourite in better-quality flat pack.
Why do designers split long panels into shorter ones?
Because of the box. A shorter carton is cheaper to ship, easier to carry, and far less likely to arrive damaged. Panel splits that look like styling choices are usually packaging decisions.
Conclusion
Flat pack has an image problem it no longer deserves. The format itself is neutral — it is simply furniture designed to travel efficiently. What separates the disposable from the durable is whether you respected the constraints: honest panel materials, joints chosen for the loads they actually carry, tolerances tested in real sheet stock, and a carton treated as part of the engineering. Start your next design with the joint map and the box dimensions, and prototype one joint before you cut anything else.
If you have assembled flat-pack furniture that either impressed you or fell apart, which joint do you think made the difference?



 English
 العربية
 Français