


A room visualization app lets you place furniture in a digital copy of your room — or, with augmented reality, in the room itself through your phone camera — so you can test size, layout and style before you build or buy anything. Used properly, a room visualization app prevents the two most expensive furniture mistakes: pieces that do not fit and pieces that fit but overwhelm. This guide teaches you the three app types, their accuracy limits, and a step-by-step workflow to run before any major purchase or build.
Key takeaways
- Room visualization apps come in three types: 2D floor planners, 3D room builders and AR placement apps — each answers different questions.
- Apps are reliable for layout and proportion, less reliable for colour, texture and exact centimetres.
- AR scale can drift, especially in poor light or on featureless floors; always verify critical dimensions with a tape measure.
- Run the full room-check workflow — measure, model, test clearances, check light — before committing to a purchase or a build.
- Save screenshots from two or three angles; they become your reference at the saw or in the shop.
What does a room visualization app actually do?
A room visualization app builds a testable copy of your space. At minimum it lets you draw the room’s footprint, drop in furniture blocks at real-world scale, and view the arrangement from above or at eye level. Better apps add wall colours, flooring, windows and lighting, so you can judge not just whether a piece fits, but whether the room still breathes around it.
The key shift is from imagination to evidence. Instead of guessing how a 220 cm sofa relates to your doorway, radiator and rug, you watch the relationship on screen. Makers use the same workflow in reverse: model the room first, then design the furniture to the space. Either way, the app is a rehearsal stage — cheap to change, unlike timber or a delivery van.



What are the three types of room visualization apps?
The three types are 2D planners, 3D room builders and AR placement apps, and they answer different questions. Use 2D to check fit and circulation, 3D to judge proportion and style, and AR to sense real presence in the actual room. Most serious projects end up using two of the three.
| App type | What it shows | Best question it answers | Watch out for |
|---|---|---|---|
| 2D floor planner | Top-down plan with scaled furniture footprints | “Does it fit, and can I walk around it?” | No height or visual weight information |
| 3D room builder | Full room model with walls, finishes and eye-level views | “Does it look right in this room?” | Generic furniture models may differ from real pieces |
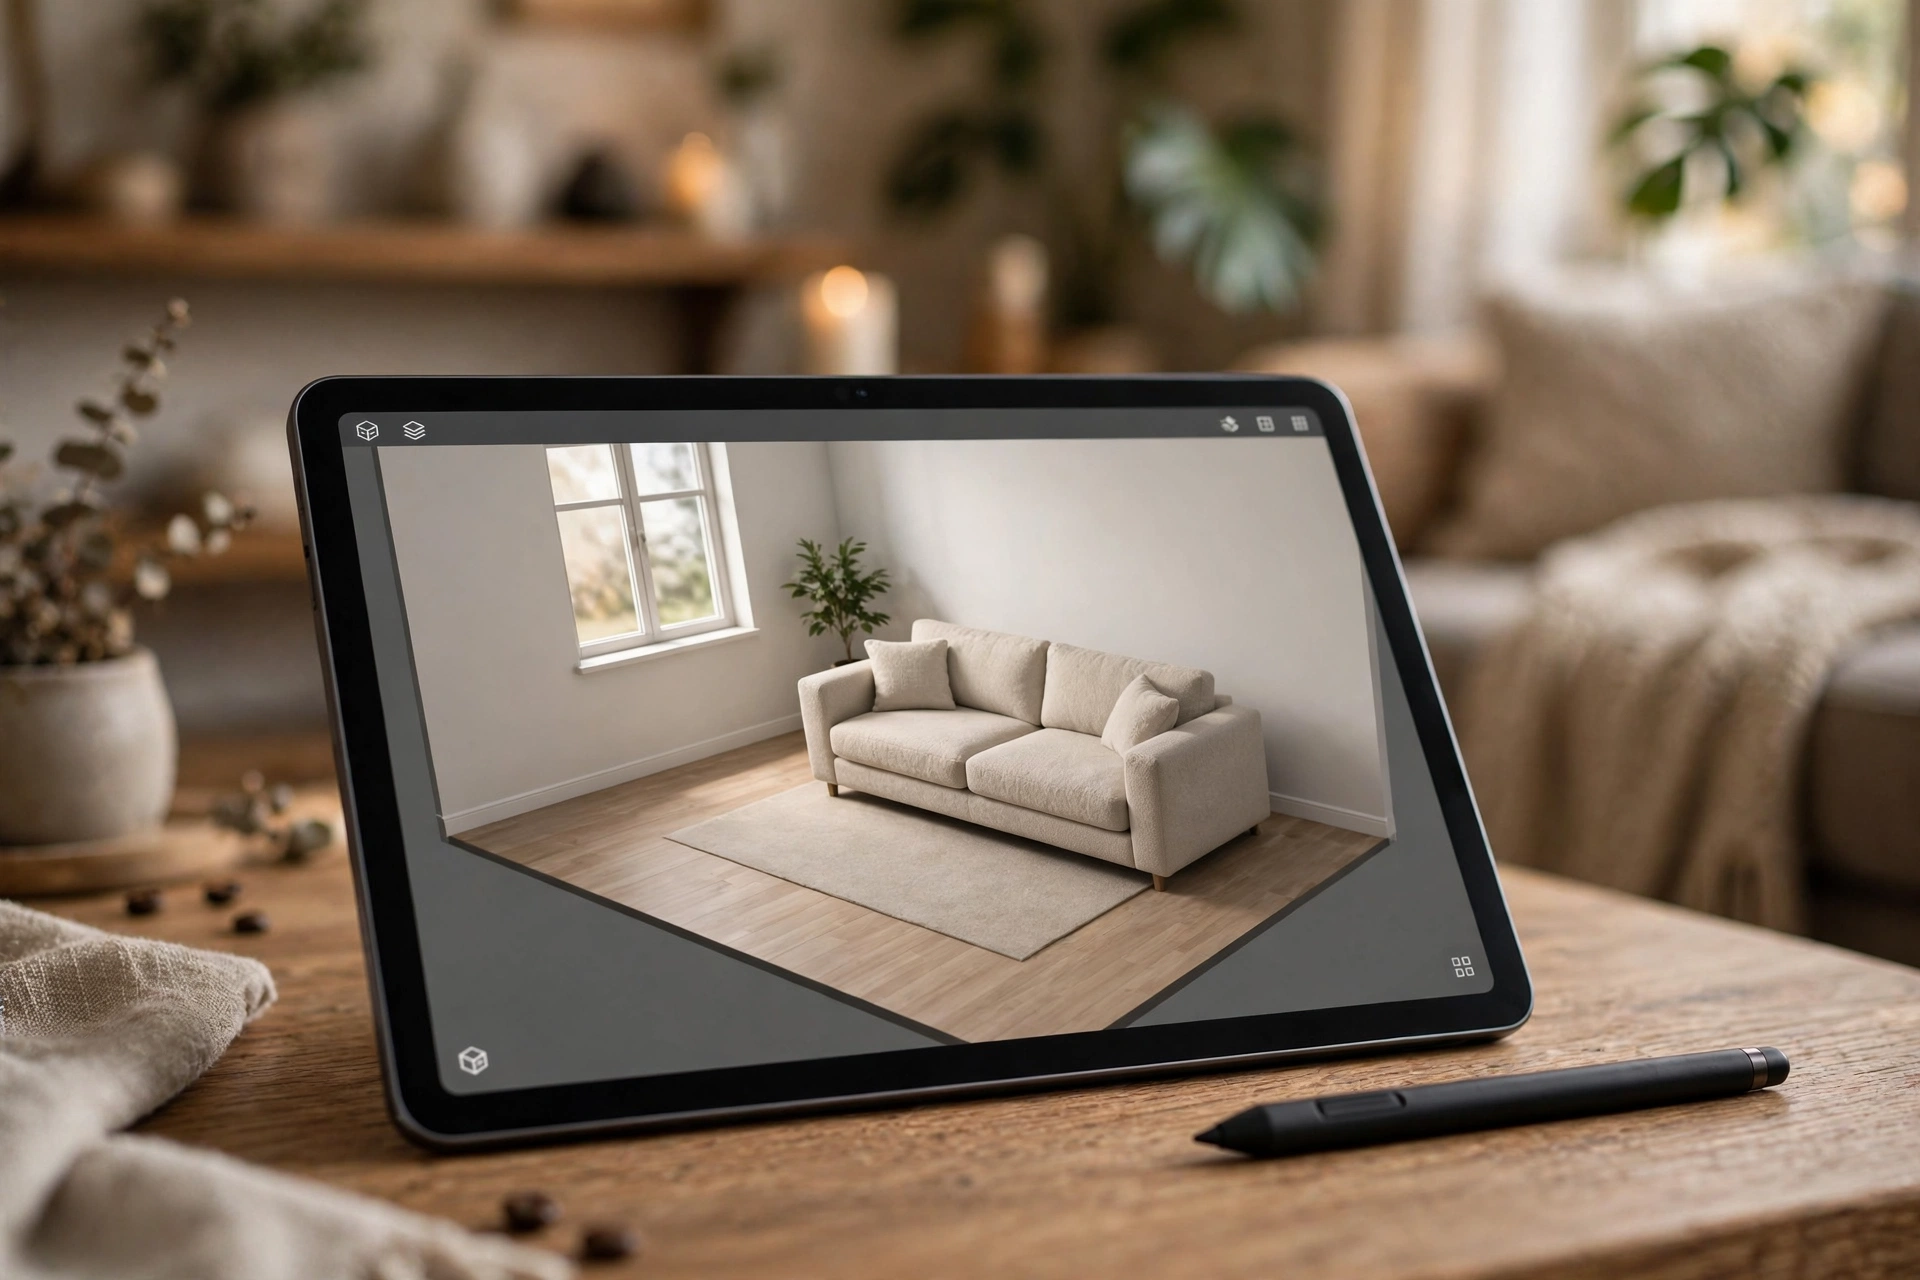
| AR placement | Life-size model overlaid on your real room via camera | “How does it feel standing here?” | Scale drift and unrealistic lighting |
| Photo-based styler | Your room photo with products composited in | “Does this style suit my room?” | Perspective and scale are approximate |
Before you start: what you need
Gather a tape measure or laser measure, your room’s key dimensions (length, width, ceiling height, door and window positions), and the dimensions of any furniture you already own and plan to keep. Photograph each wall straight-on. Fifteen minutes of measuring saves hours of app-fiddling with wrong numbers.
How accurate is a room visualization app?
A room visualization app is accurate enough for layout decisions and unreliable for final joinery dimensions. In a well-measured 2D or 3D model, furniture footprints are as accurate as the numbers you typed — which is why your measuring matters more than the app’s brand. Colour and texture are the weak point: screen rendering flattens fabric, exaggerates sheen and shifts under your room’s real light.
AR adds its own caveats. Scale drift creeps in when the camera loses track of the floor — on glossy, dark or featureless surfaces, or in dim light — and a model can sit a few percent off true size or float slightly. Lighting is simulated, so shadows and reflections flatter pieces that may look heavier in reality. Treat AR as a presence test, never as a tape measure.
How do you run a room check before buying or building?
You run the check in six steps, moving from measurements to a final walkthrough. Complete them in order; each step catches a different class of mistake.
- Measure the room precisely, including skirting boards, radiators, sockets and door swings.
- Build the room in your chosen app and place the furniture you already own first.
- Insert the candidate piece at its true dimensions — width, depth and height, not just footprint.
- Check clearances: walking paths, drawer and door opening arcs, and space to pull out chairs.
- Switch to eye-level view or AR and judge visual weight from the doorway and the main seat.
- Screenshot three angles and compare them against your room photos before deciding.
For outdoor or garden pieces, the same logic applies at landscape scale — our guide to Japanese zen garden 3D models shows how designers test structures in a modelled space before committing to them. Retailers also offer their own planners and AR tools; the visualiser range at IKEA, for example, lets you test catalogue pieces in your room, and the same accuracy rules apply: trust the layout, verify the centimetres.

How do you check the delivery route and the real-world fit?
You check the delivery route by modelling the journey, not just the destination. A wardrobe that fits its wall perfectly is still a failure if it cannot turn the corner of your staircase. Walk the route from street to room with your tape measure: door widths, hallway turns, stair landings, lift dimensions. Enter any choke point into your plan as a note, and compare it against the piece’s smallest dimension — remembering that a piece can often travel on its side or back, which changes which dimension matters.
Then verify the final position physically. Before the piece arrives or the build begins, mark its footprint on the floor with painter’s tape at the exact dimensions from your app. Live with the tape outline for a day. Open the doors and drawers it neighbours, walk past it with a laundry basket, sit in the chair it faces. This low-tech test catches the ergonomic annoyances — the shin-bruising corner, the blocked socket, the drawer that opens into a walkway — that even a careful 3D model can leave you blind to. Only when the tape test passes should money change hands or timber get cut.
If the tape test fails, return to the app with the specific failure noted. Adjust the piece’s size, swap its orientation, or move it to the opposite wall, and re-run the checks. Two or three loops of app-plus-tape cost an afternoon; a wrong purchase costs a season of returns, restocking fees or a workshop rebuild.
Which app type should you choose for your project?
Choose by the decision you face. If you are rearranging or checking whether a purchase fits, a 2D planner is fastest and quite sufficient. If you are designing a piece to build — a bookcase wall, a banquette, a fitted wardrobe — a 3D room builder earns its learning curve, because height, sightlines and finish combinations decide the result. If you are torn between two sofas or finishes in a shop, AR on your phone gives the quickest gut-check in the real room.
Budget and patience matter too. Free tiers usually cover one room and basic catalogues; paid tiers add custom dimensions and larger libraries. Start free, and upgrade only when a missing feature blocks a real decision. Whichever tier you choose, save your measured room model and reuse it: a stored, accurate room becomes more valuable with every project, because each future purchase or build starts from verified dimensions instead of a fresh afternoon of measuring.
Common mistakes
The classic mistake is modelling from memory. Rooms remembered are always bigger than rooms measured, and a plan built on guessed dimensions blesses furniture that will not fit. Measure first, always.
Second, forgetting the third dimension: a bookcase that fits the wall in plan can still crush the room if it is 40 cm deeper than the model you dropped in. Enter real depth and height for every piece. Third, trusting AR scale blindly — drift of even a few percent turns a “perfect fit” into a blocked doorway, so confirm tight gaps physically.
Finally, judging colour on screen. Order the swatch, visit the showroom, or at minimum view the model under the app’s different lighting presets before deciding on fabric or finish.
Frequently asked questions
Can a room visualization app replace measuring my room?
No. The app displays the numbers you give it, so its accuracy starts with your tape measure. Use the app to test arrangements, then re-verify any tight dimension in the real room before ordering or cutting.
Why does the AR furniture look slightly the wrong size?
That is usually scale drift: the camera has lost precise tracking of the floor, so the model renders a few percent off. Improve the light, move slowly, and re-anchor the model on a textured floor area to correct it.
Are free room planner apps good enough?
For layout and fit checks, yes — free tiers handle one-room projects well. You only need paid features when you want custom furniture dimensions, multiple rooms or photorealistic rendering for client presentations.
What clearances should I check around furniture?
As working rules, keep main walking paths comfortably wide, allow full opening arcs for doors and drawers, and leave enough room to pull dining chairs out and sit down. Test each of these in the model, not just the footprint fit.
Should makers use these apps too, or only buyers?
Makers benefit just as much. Modelling the client’s room first lets you size a piece to the space, spot delivery-route problems early, and show the client a convincing preview before any material is cut.
Keep learning: once the room is modelled, the furniture itself needs the right tool — our guide to the best 3D furniture design software and our SketchUp vs Fusion 360 vs Sketch3D-Art comparison show where room previews end and real design begins.
Conclusion
You now know how to use a room visualization app like a professional: pick the type that matches your decision, measure before you model, trust it for layout and proportion, and verify centimetres and colours in the real world. Run the six-step room check before your next purchase or build, and keep the screenshots as your reference. Which piece of furniture in your home would you test first if you could preview it risk-free?



 English
 العربية
 Français